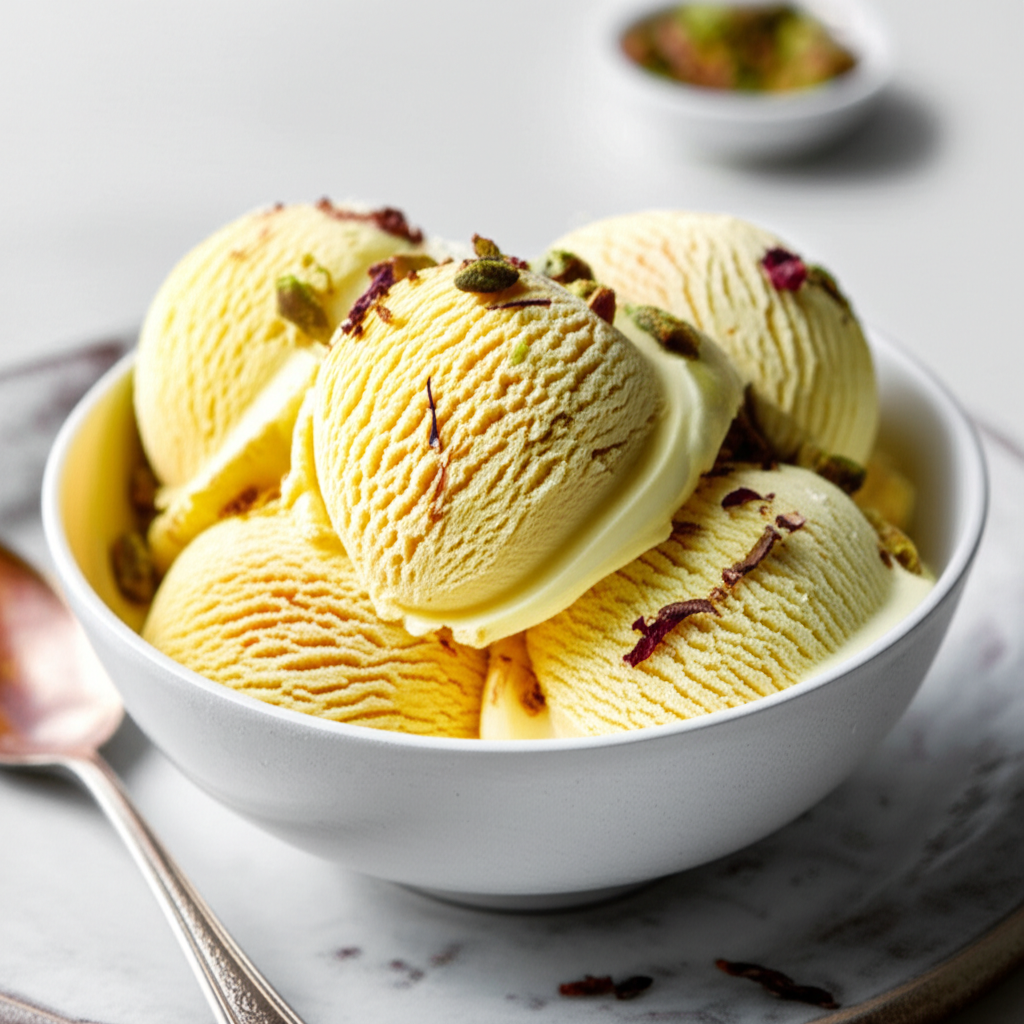
Ingredientes para Luscious Silky Mango Ice Cream
Cook Smarter with Sous, Your Kitchen Companion
Missing an ingredient for this Luscious Silky Mango Ice Cream? Need a perfect wine pairing or a healthy side dish idea? Don't guess—ask Sous! Your AI-powered sous-chef is ready to help you swap ingredients, adjust serving sizes, and discover flavor tips in seconds.
Cómo preparar Luscious Silky Mango Ice Cream
- **Prepare Mango Puree:** If not using store-bought puree, peel and cut 2 large ripe mangoes into chunks. Remove as much flesh as possible and blend with 1 tablespoon of lemon juice until smooth. Strain through a fine-mesh sieve to remove any stringy bits. You should have approximately 1 1/4 cups of puree.
- **Make the Gelato Base:** In a medium bowl, whisk together 4 large egg yolks and 1/2 cup (100g) granulated sugar until pale and thick.
- **Scald the Milk and Cream:** In a medium saucepan, gently heat 1 cup (240ml) heavy cream and 1 cup (240ml) whole milk over medium heat until it just begins to simmer around the edges. Do not boil.
- **Temper the Egg Yolks:** Slowly whisk about 1/3 of the hot cream mixture into the egg yolk mixture to temper them. This prevents the yolks from scrambling.
- **Combine and Cook:** Pour the tempered egg yolk mixture into the saucepan with the remaining cream mixture. Cook over very low heat, stirring constantly with a spatula, until the custard thickens enough to coat the back of the spoon (about 5-7 minutes). Do not boil.
- **Strain and Cool:** Strain the custard through a fine-mesh sieve into a bowl. Let it cool completely, stirring occasionally, to prevent a skin from forming.
- **Combine with Mango:** Once the custard is completely cool, gently stir in the prepared mango puree.
- **Chill Overnight:** Cover the mixture and refrigerate for at least 8 hours, or preferably overnight, to allow the flavors to meld.
- **Freeze for Optimal Results:** About 10 minutes before churning, place the chilled mango custard and your ice cream maker dasher in the freezer to get them very cold.
- **Churn and Freeze:** Churn the mixture in your ice cream maker according to the manufacturer's instructions. This usually takes 20-30 minutes.
- **Hardening:** Once churned, transfer the ice cream to an airtight container and freeze for at least 2-3 hours to allow it to harden further before serving.
Nutrition Information (Approximate per serving)
Sodium
1 g
Sugar
155g
Fat
24g
Carbs
14g