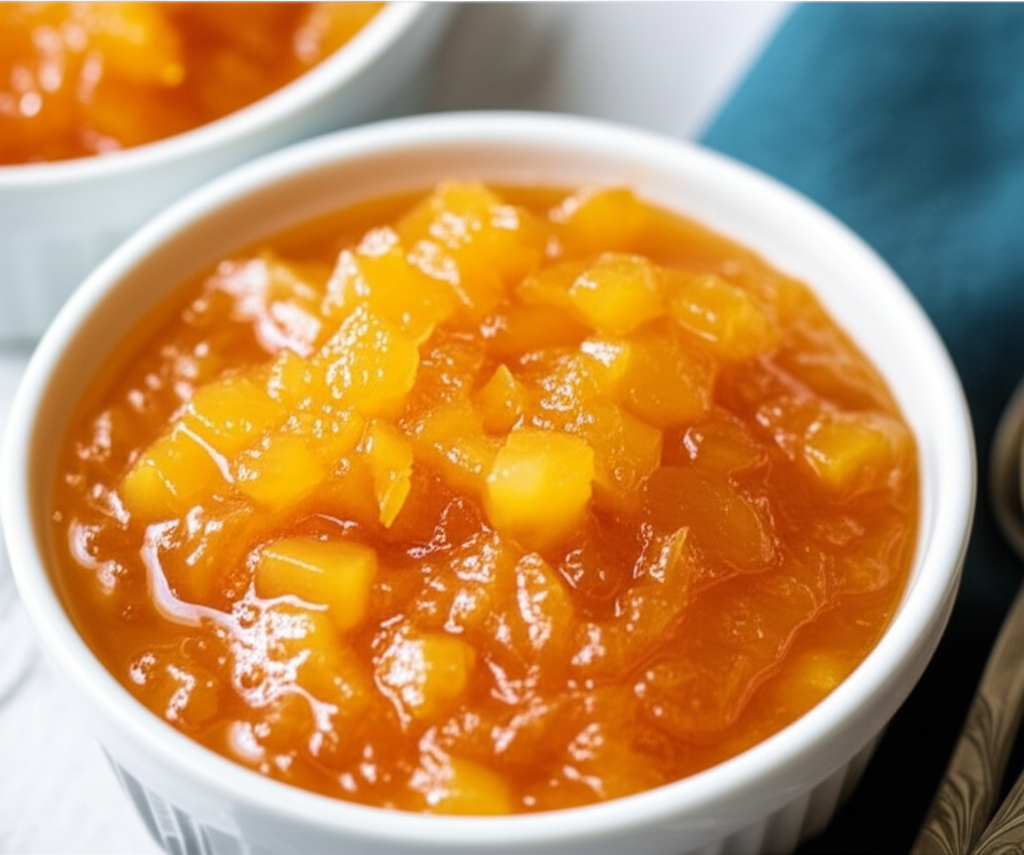
Ingredients for Pineapple Compote
Cook Smarter with Sous, Your Kitchen Companion
Missing an ingredient for this Pineapple Compote? Need a perfect wine pairing or a healthy side dish idea? Don't guess—ask Sous! Your AI-powered sous-chef is ready to help you swap ingredients, adjust serving sizes, and discover flavor tips in seconds.
How to Make Pineapple Compote
- Prepare your jars: Sterilize 4 eight-ounce preserving jars according to the manufacturer's instructions.
- Prep the pineapple: Peel, core, and finely dice the pineapple. Remove all the 'eyes'.
- Combine ingredients: In a large preserving kettle or heavy-bottomed saucepan, combine the diced pineapple, sugar, and lemon juice (if using). Gently toss to coat.
- Macerate: Let the mixture sit at room temperature for 1 hour to allow the pineapple to release its juices and the sugar to begin dissolving.
- Simmer gently: Place the kettle over medium-low heat. Bring the mixture to a gentle simmer, stirring occasionally. Cook for approximately 60-90 minutes, or until the pineapple is translucent and tender. Skim off any foam that forms on the surface.
- Fill the jars: Using a ladle or jar lifter, carefully transfer the hot pineapple compote to the sterilized jars, leaving about 1/4 inch headspace.
- Remove air bubbles: Run a clean, non-metallic utensil (like a chopstick or silicone spatula) around the inside of the jars to remove any air bubbles.
- Process jars (optional for shelf stability): Wipe the rims of the jars clean, place lids and rings on the jars, and tighten to fingertip tightness. Process the jars in a boiling water bath for 10 minutes. Ensure the water completely covers the jars. If skipping water bath processing, be sure to store jars in refrigerator.
- Cool and seal: Remove the jars from the water bath (if processing) and allow them to cool completely. You should hear a ‘pop’ sound as the jars seal.
- Storage: Unsealed jars should be refrigerated and used within 2 weeks. Sealed jars can be stored in a cool, dark place for up to 6 months.
Nutrition Information (Approximate per serving)
Sodium
0 g
Sugar
643g
Fat
0g
Carbs
54g