Ingredientes para Cranberry Eggnog Cheesecake
- 1/2 cup sugar (for cranberries) + 1 1/2 cups granulated sugar (for filling)
- Cornstarch
- Cranberry Juice
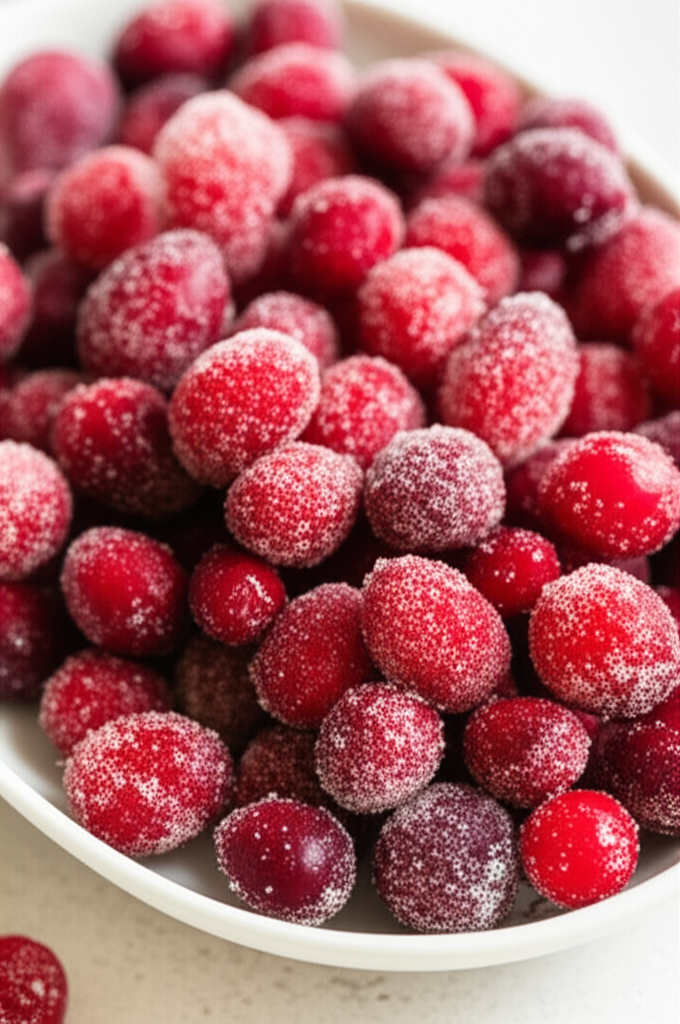
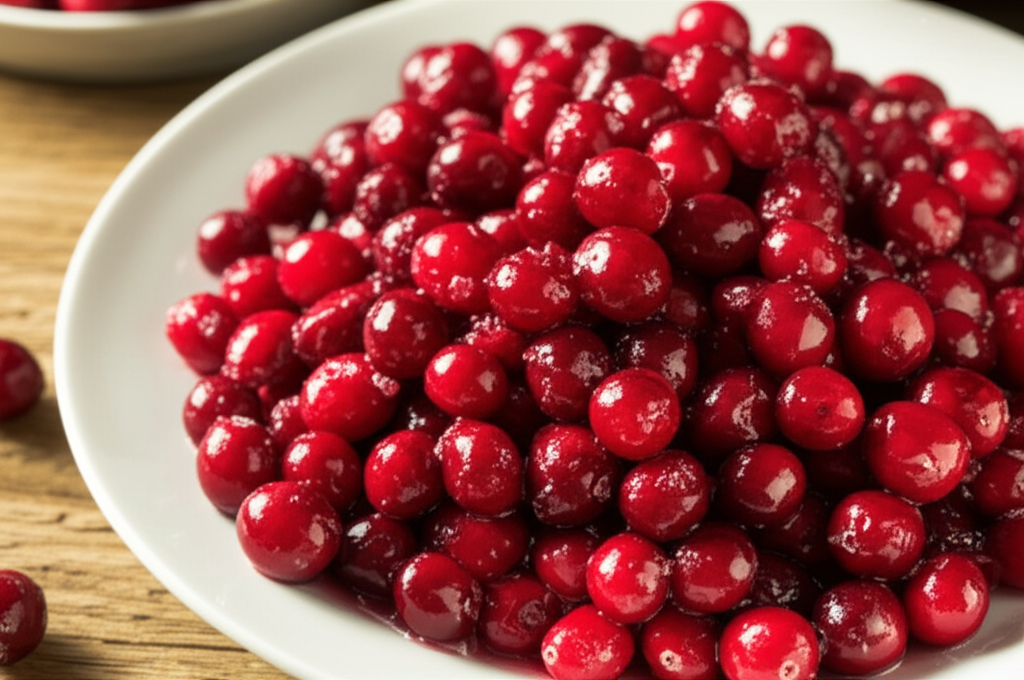
- 1 (12-ounce) bag fresh or frozen cranberries
- Graham Cracker Crumbs
- 6 tablespoons (3 ounces) melted unsalted butter
- 2 (8-ounce) packages cream cheese
- All Purpose Flour
- 4 large eggs
- 1 cup eggnog
- Vanilla Extract
Cook Smarter with Sous, Your Kitchen Companion
Missing an ingredient for this Cranberry Eggnog Cheesecake? Need a perfect wine pairing or a healthy side dish idea? Don't guess—ask Sous! Your AI-powered sous-chef is ready to help you swap ingredients, adjust serving sizes, and discover flavor tips in seconds.
Como fazer Cranberry Eggnog Cheesecake
- Preheat oven to 325°F (160°C).
- **Make the Cranberry Topping:** In a saucepan, combine 1 (12-ounce) bag fresh or frozen cranberries, 1/2 cup sugar, 1/4 cup water, and 1 tablespoon orange zest.
- Bring to a boil over medium-high heat.
- Reduce heat to low, simmer for 5-7 minutes, or until cranberries burst and sauce thickens slightly. Remove from heat and set aside to cool.
- **Make the Crust:** In a medium bowl, combine 1 1/2 cups gingersnap cookie crumbs, 1/4 cup granulated sugar, and 6 tablespoons (3 ounces) melted unsalted butter.
- Press mixture firmly into the bottom of a greased 9-inch springform pan.
- Bake for 10 minutes. Cool completely on a wire rack.
- **Make the Cheesecake Filling:** In a large bowl, beat 2 (8-ounce) packages cream cheese until smooth and creamy.
- Gradually add 1 1/2 cups granulated sugar, beating until combined.
- Add 1/4 cup all-purpose flour and beat until just combined.
- Add 4 large eggs one at a time, beating on low speed after each addition until just combined. Do not overmix.
- Stir in 1 cup eggnog and 1 teaspoon vanilla extract until just blended.
- Pour two-thirds of the filling over the cooled crust.
- Spread half of the cooled cranberry mixture evenly over the filling.
- Carefully spoon the remaining filling on top.
- Bake for 60-70 minutes, or until the center is almost set. The edges will be set, but the center may still jiggle slightly.
- Turn off the oven and leave the cheesecake in the oven with the door slightly ajar for 1 hour to cool slowly. This prevents cracking.
- Remove the cheesecake from the oven and let it cool completely on a wire rack for at least 4 hours or preferably overnight.
- Once completely cool, carefully run a knife around the edge of the pan to loosen the cheesecake.
- Remove the sides of the springform pan.
- Spoon the remaining cranberry mixture over the top of the cheesecake.
- Garnish with a sprig of fresh mint (optional).
- Refrigerate for at least 6 hours, or preferably overnight, before serving.
- Yield: 12 servings. Enjoy!
Nutrition Information (Approximate per serving)
Sodium
14 g
Sugar
184g
Fat
88g
Carbs
17g