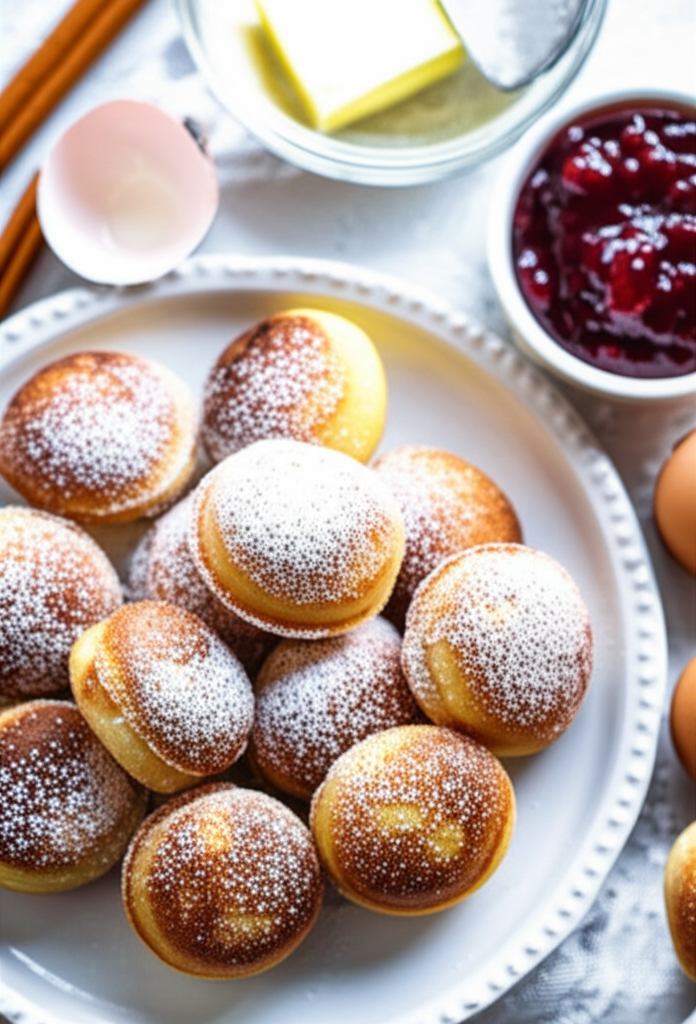

Ingredientes para Aebleskiver Danish Pancake Balls
- 1 1/2 cups all-purpose flour
- 1/2 teaspoon salt
- 2 teaspoons baking powder
- 1/4 cup granulated sugar
- 1 teaspoon ground cardamom
- 2 large eggs
- 1 cup milk
- 2 tablespoons melted butter
- Powdered sugar, for dusting
- Fruit preserves, for filling
- Vegetable oil, for brushing pan
Cook Smarter with Sous, Your Kitchen Companion
Missing an ingredient for this Aebleskiver Danish Pancake Balls? Need a perfect wine pairing or a healthy side dish idea? Don't guess—ask Sous! Your AI-powered sous-chef is ready to help you swap ingredients, adjust serving sizes, and discover flavor tips in seconds.
Cómo preparar Aebleskiver Danish Pancake Balls
- In a medium bowl, sift together 1 ½ cups all-purpose flour, ½ teaspoon salt, 2 teaspoons baking powder, ¼ cup granulated sugar, and 1 teaspoon ground cardamom.
- In a separate small bowl, whisk together 2 large eggs, 1 cup milk, and 2 tablespoons melted butter.
- Gently pour the wet ingredients into the dry ingredients and stir until just combined. Do not overmix.
- Generously brush the entire cooking surface of your preheated Aebleskiver pan with vegetable oil. Heat the pan over medium heat until a drop of water sizzles on the surface.
- Lightly brush each well of the pan with remaining melted butter.
- Fill each well approximately ⅔ full with batter.
- Cook for about 30 seconds, or until a thin shell forms on the bottom of each pancake ball.
- Using a long wooden skewer or a thin metal skewer, gently lift the partially baked shell halfway up, allowing the unbaked batter to flow out into the well.
- Continue to rotate each pancake ball every 30 seconds as the shell sets, lifting and turning to allow the batter to cook evenly.
- After about four turns, the ball should begin to form. At this point, you can carefully turn the aebleskiver upside down to seal the bottom.
- Continue baking, rotating frequently, until the aebleskiver are a deep golden brown and a skewer inserted into the center comes out clean (about 2-3 minutes per aebleskiver).
- Carefully remove the aebleskiver from the pan using the skewer.
- Repeat steps 6-12 with the remaining batter.
- Serve immediately. For a warm presentation, keep the aebleskiver warm for up to 30 minutes in a warming basket.
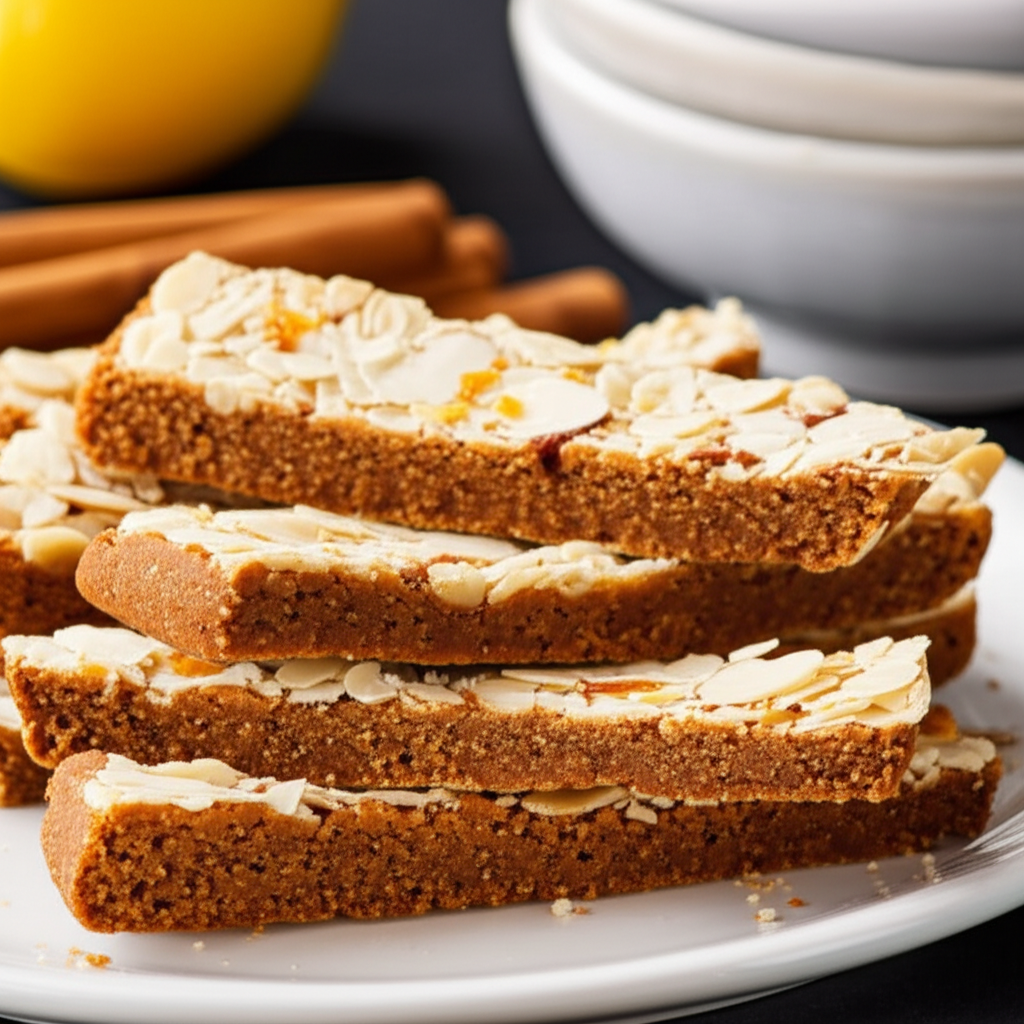
- Dust with powdered sugar and break each aebleskiver in half to fill with your favourite preserves or chocolate.
Nutrition Information (Approximate per serving)
Sodium
8 g
Sugar
8g
Fat
12g
Carbs
4g