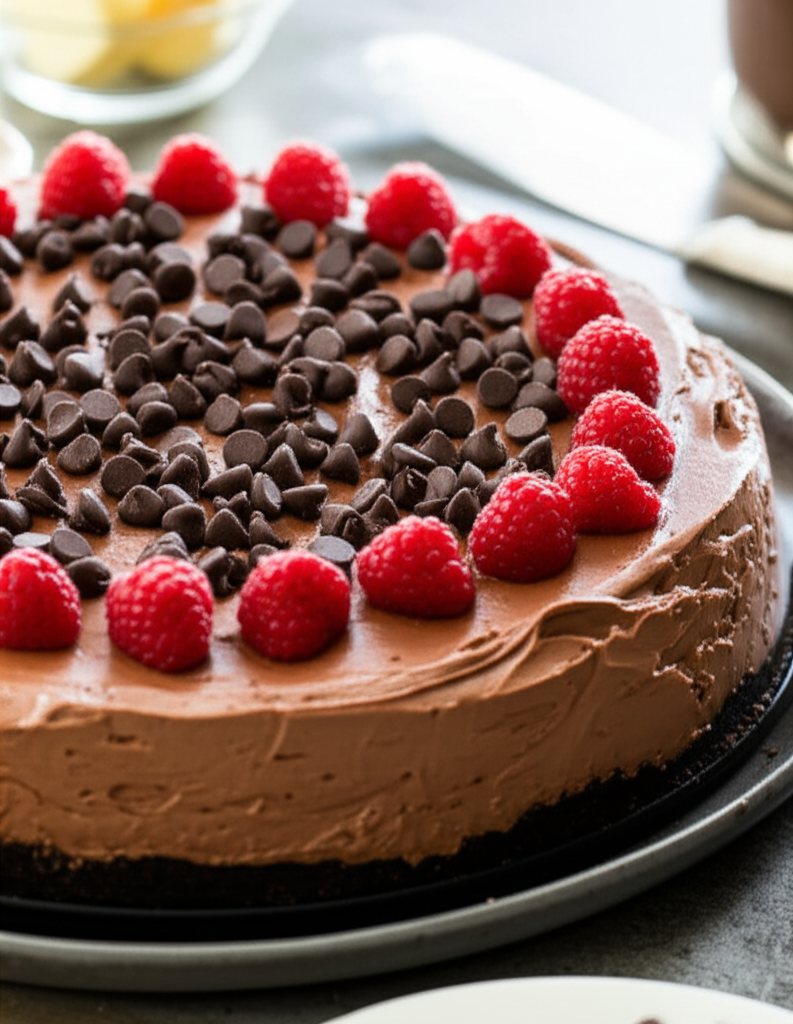
Ingrédients pour Chocolate Raspberry Cheesecake
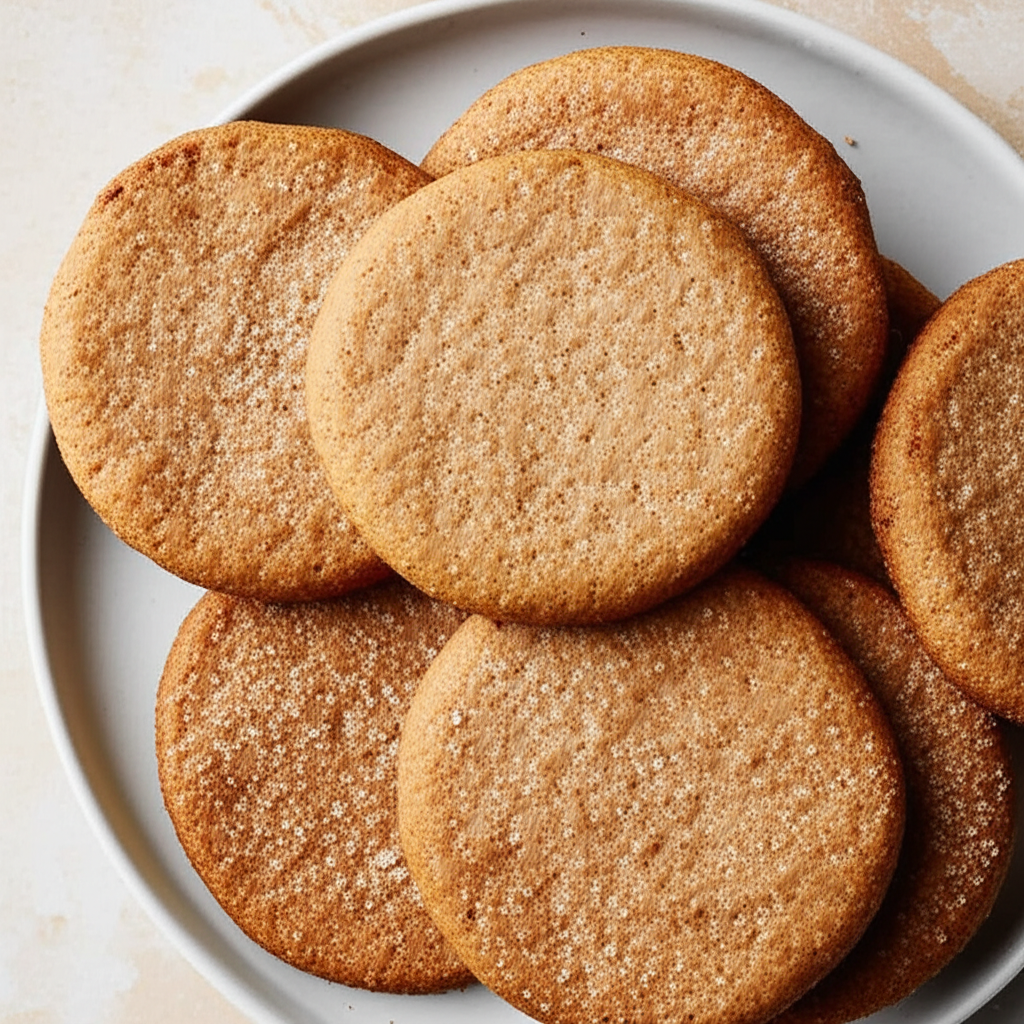
- Graham Crackers
- ¼ cup powdered sugar
- Butter
- Raspberries
- ¼ cup granulated sugar
- 2 (8 ounce) packages cream cheese
- Sweetened Condensed Milk
- 2 large eggs
- 1 teaspoon vanilla extract
- Semisweet Chocolate Piece
Cook Smarter with Sous, Your Kitchen Companion
Missing an ingredient for this Chocolate Raspberry Cheesecake? Need a perfect wine pairing or a healthy side dish idea? Don't guess—ask Sous! Your AI-powered sous-chef is ready to help you swap ingredients, adjust serving sizes, and discover flavor tips in seconds.
Comment préparer Chocolate Raspberry Cheesecake
- Preheat oven to 350°F (175°C).
- **Make the crust:** In a medium bowl, combine 1 ½ cups graham cracker crumbs, ¼ cup powdered sugar, and 6 tablespoons (3 ounces) melted unsalted butter. Mix until evenly moistened.
- Press the crumb mixture firmly into the bottom and 2 inches up the sides of a 9-inch springform pan. Set aside.
- **Prepare the raspberry mixture:** In a separate bowl, gently combine 1 cup fresh raspberries and ¼ cup granulated sugar. Set aside.
- **Make the filling:** In a large bowl, beat 2 (8 ounce) packages cream cheese and 1 (14 ounce) can sweetened condensed milk until smooth and creamy. Beat in 2 large eggs one at a time, then stir in 1 teaspoon vanilla extract. Beat until just combined.
- **Divide and conquer:** Divide the cheesecake batter in half.
- **Chocolate layer:** Melt 4 ounces semi-sweet chocolate chips. Stir the melted chocolate into one half of the batter until fully incorporated.
- **Raspberry layer:** Gently fold the raspberry-sugar mixture into the remaining half of the batter.
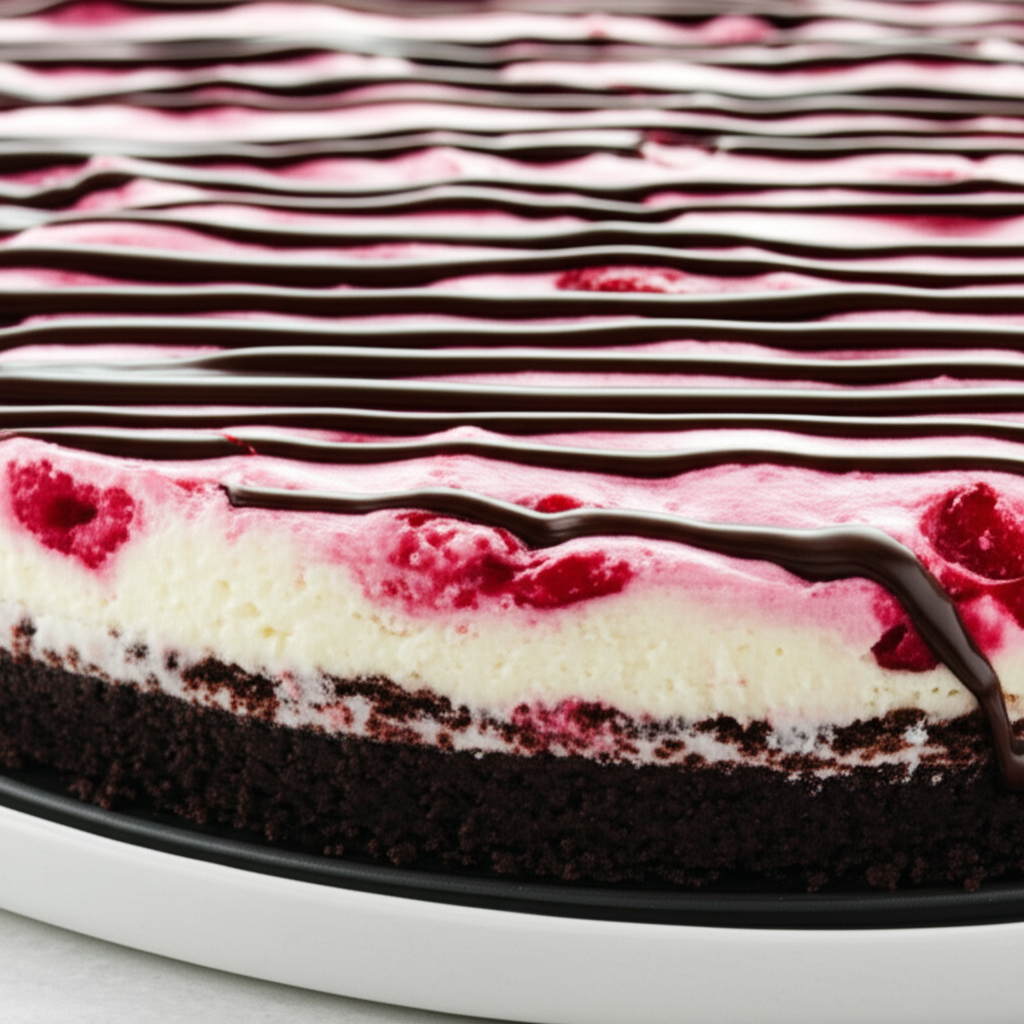
- **Assemble the cheesecake:** Pour the chocolate batter into the prepared crust. Spoon the raspberry batter evenly over the chocolate layer, swirling gently with a knife or toothpick for a marbled effect.
- **Baking and cooling:** Place the springform pan in a larger baking pan. Pour enough hot water into the larger pan to come halfway up the sides of the springform pan (this creates a water bath for even baking).
- Bake for 50-60 minutes, or until the center is almost set. Let cool in the pan on a wire rack for 15 minutes.
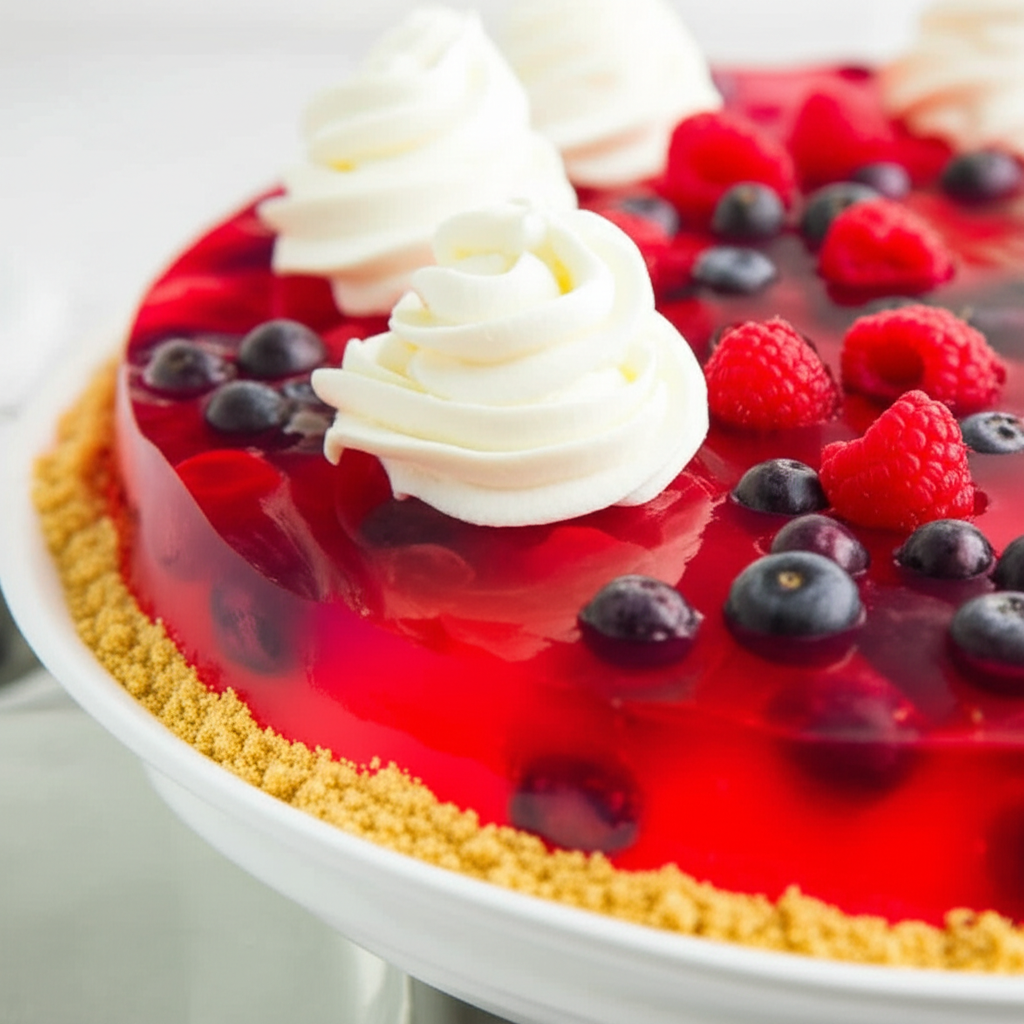
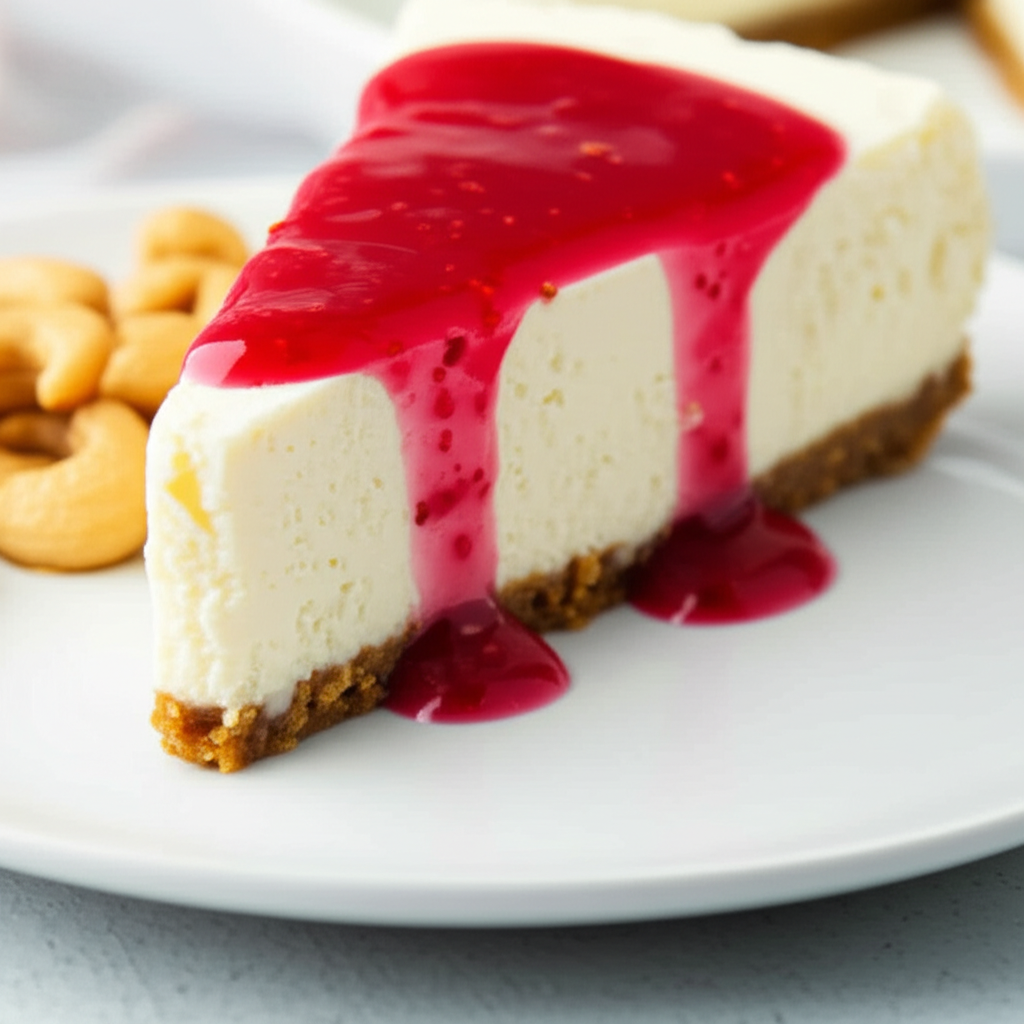
- **Chill and serve:** Carefully run a thin knife around the edge of the cheesecake to loosen it from the pan. Cool completely, then cover and chill for at least 4 hours, or preferably overnight. Serve with fresh raspberries and whipped cream, if desired. Drizzle with extra melted chocolate for an extra touch of indulgence.
Nutrition Information (Approximate per serving)
Sodium
9 g
Sugar
103g
Fat
73g
Carbs
10g