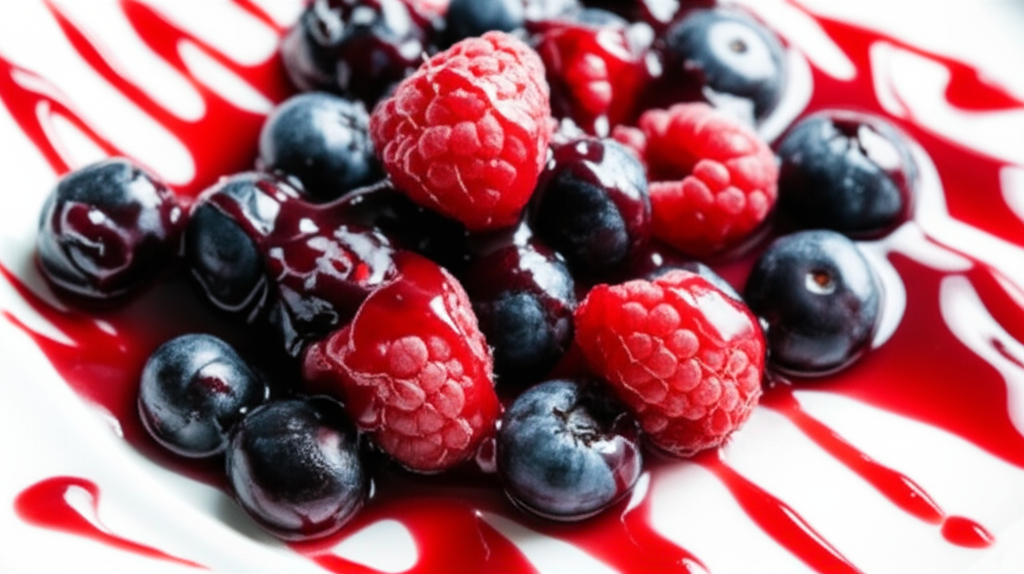
Ingredients for Raspberry Green Chile Jam
- 4 cups fresh raspberries
- 1/2 cup water
- Green Chili Peppers
- 1/4 cup lemon juice
- Granulated Sugar
- Dry Pectin
Cook Smarter with Sous, Your Kitchen Companion
Missing an ingredient for this Raspberry Green Chile Jam? Need a perfect wine pairing or a healthy side dish idea? Don't guess—ask Sous! Your AI-powered sous-chef is ready to help you swap ingredients, adjust serving sizes, and discover flavor tips in seconds.
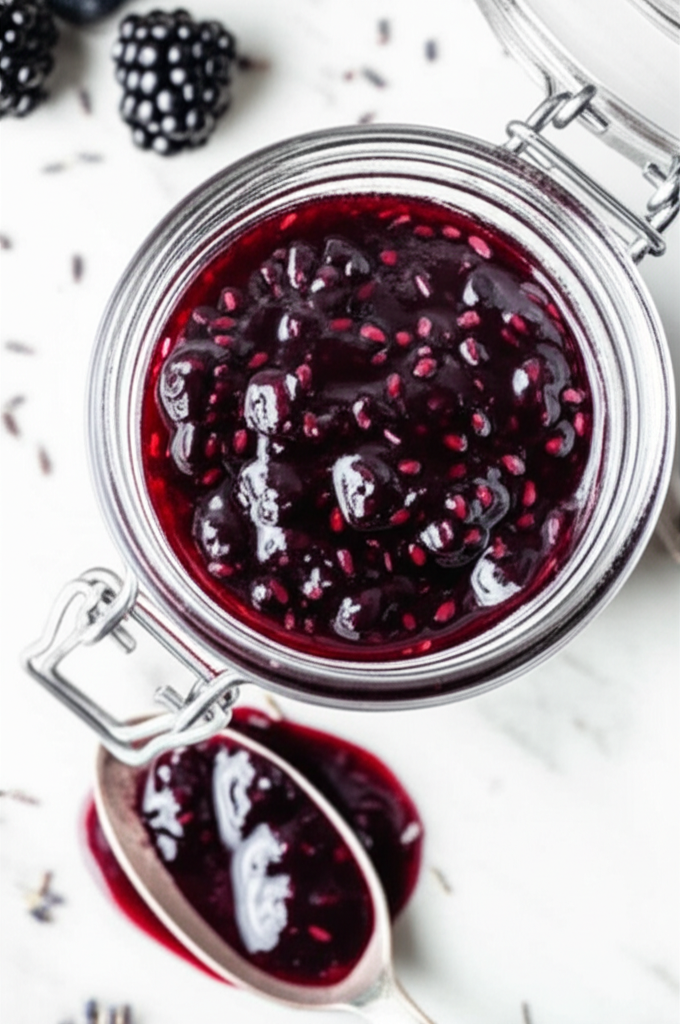
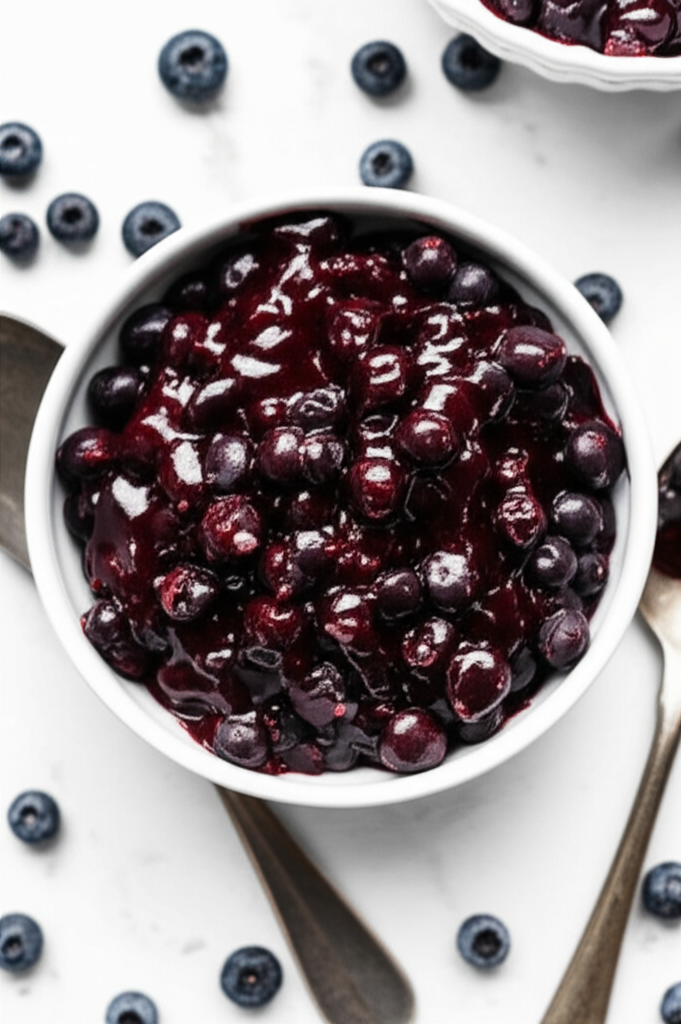
How to Make Raspberry Green Chile Jam
- Combine 4 cups raspberries, 1 cup finely chopped green chiles, 1 pouch (1.75 oz) liquid pectin, 1/2 cup water, and 1/4 cup lemon juice in an 8-quart non-stick pan.
- Bring the mixture to a full rolling boil over medium-high heat, stirring constantly. This is crucial for activating the pectin.
- Add 7 cups of granulated sugar all at once. Stir vigorously.
- Return the mixture to a rolling boil, continuing to stir constantly. The mixture will thicken significantly.
- Boil hard for exactly 1 minute, stirring constantly to prevent scorching. Maintain a rolling boil.
- Remove the pan from the heat immediately. Skim off any foam that has formed on the surface.
- Ladle the hot jam into sterilized, hot half-pint jars, leaving 1/4-inch headspace at the top of each jar.
- Wipe the jar rims clean. Place lids and screw on bands fingertip tight. Do not over-tighten.
- Process the jars in a boiling water bath for 10 minutes (adjust processing time according to your altitude – consult a USDA canning guide for proper altitude adjustments).
- Remove jars from the canner and let them cool completely. You should hear a satisfying ‘pop’ sound as the jars seal. Check the seals; the lids should be concave (pushed down).
Nutrition Information (Approximate per serving)
Sodium
0 g
Sugar
710g
Fat
0g
Carbs
64g
Recipe Categories (Choose a category and find related recipes!)
Recipe Tags (Choose a tag and find related recipes!)
30 Minutes Or Less Time To Make Course Main Ingredient Cuisine Preparation Occasion North American Low Protein Healthy Jams And Preserves Canning Condiments Etc Fruit American Southwestern United States Easy Low Fat Vegan Vegetarian Dietary Gifts Low Sodium Low Cholesterol Low Saturated Fat Inexpensive Healthy 2 Free Of Something Low In Something Berries Raspberries Technique Water Bath From Scratch