Ingredientes para Boston Dream Cream Pie
- Eggs
- Vanilla Extract
- Granulated Sugar
- pinch of salt (for filling)
- Cake Flour
- All Purpose Flour
- 2 cups milk
- 2 large egg yolks (for filling)
- Light Corn Syrup
- 1/4 cup water
- Semisweet Chocolate
Cook Smarter with Sous, Your Kitchen Companion
Missing an ingredient for this Boston Dream Cream Pie? Need a perfect wine pairing or a healthy side dish idea? Don't guess—ask Sous! Your AI-powered sous-chef is ready to help you swap ingredients, adjust serving sizes, and discover flavor tips in seconds.
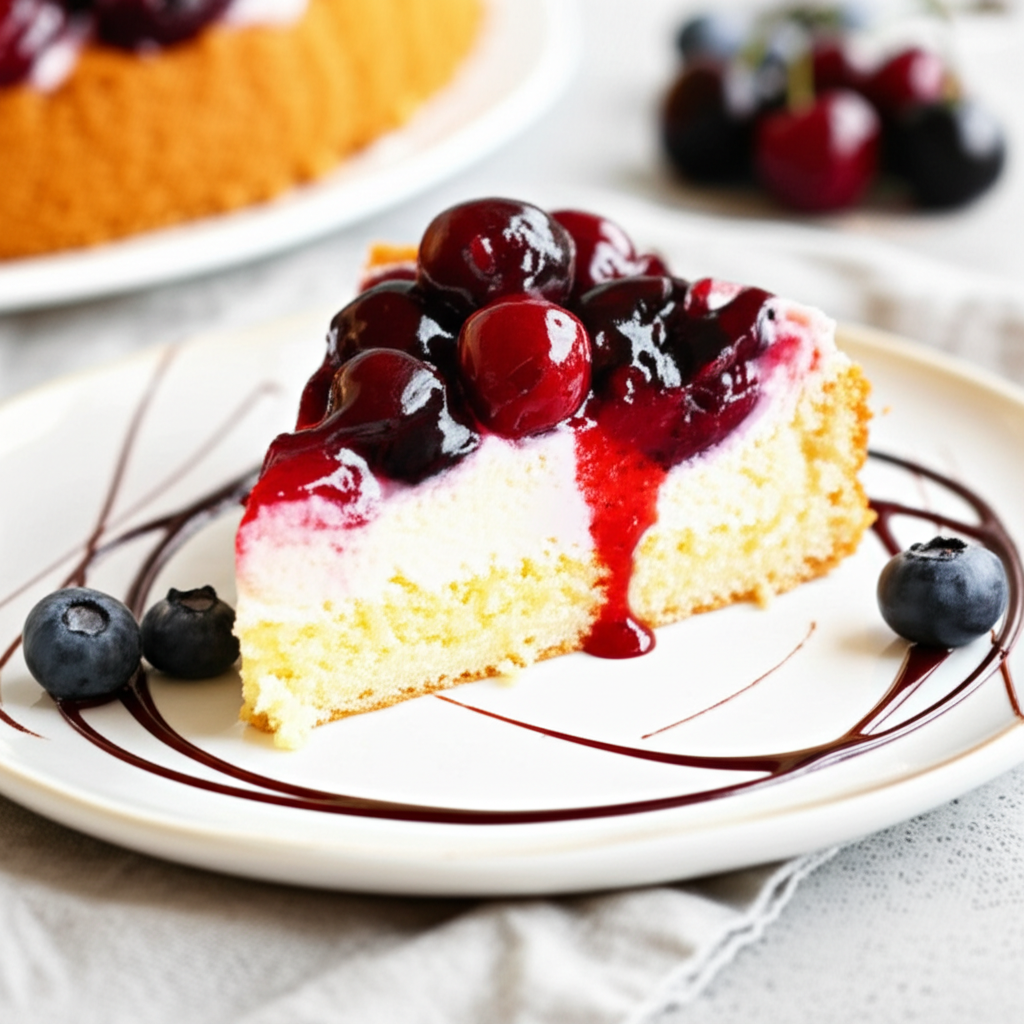
Cómo preparar Boston Dream Cream Pie
- Preheat oven to 350°F (175°C). Grease and flour a 9-inch round cake pan.
- In a medium bowl, whisk together 4 large egg yolks and 1 teaspoon vanilla extract until light and frothy.
- Gradually add 1 cup granulated sugar, beating until thick and pale yellow.
- In a clean, dry bowl, beat 4 large egg whites with a pinch of salt until soft peaks form.
- Gradually add the remaining 1/2 cup granulated sugar, beating until stiff, glossy peaks form.
- Gently fold the yolk mixture into the egg whites until just combined.
- Sift 1 1/2 cups all-purpose flour over the batter. Gently fold in until just combined. Do not overmix.
- Pour batter into the prepared pan and bake for 25-30 minutes, or until a toothpick inserted into the center comes out clean.
- Let the cake cool in the pan for 10 minutes before inverting it onto a wire rack to cool completely.
- While the cake cools, prepare the filling:
- In a medium saucepan, whisk together 1/2 cup granulated sugar, 1/4 cup all-purpose flour, and a pinch of salt.
- Gradually whisk in 2 cups milk until smooth.
- Whisk in 2 large egg yolks and 1 teaspoon vanilla extract.
- Cook over medium heat, whisking constantly, until the mixture comes to a boil and thickens (about 1 minute).
- Strain the filling through a fine-mesh sieve into a bowl. Press plastic wrap directly onto the surface to prevent a skin from forming. Refrigerate for at least 30 minutes.
- Once the cake is completely cool, use a serrated knife to carefully slice it horizontally into two layers.
- Place the bottom layer on a serving plate, spread evenly with the chilled filling, and top with the remaining cake layer.
- Prepare the chocolate glaze:
- In a small saucepan, combine 1 cup granulated sugar, 1/4 cup light corn syrup, and 1/4 cup water. Bring to a boil over low heat, stirring constantly, until the sugar dissolves.
- Remove from heat and stir in 6 ounces (170g) semi-sweet chocolate. Let stand for 1 minute, then whisk until smooth and glossy.
- Pour the glaze over the cake, allowing it to drip down the sides.
- Refrigerate until the glaze sets.
- Serve chilled, topped with whipped cream and a cherry.
Nutrition Information (Approximate per serving)
Sodium
4 g
Sugar
161g
Fat
37g
Carbs
21g