Ingrédients pour Retro White Chocolate Grasshopper Pie
- 6 tablespoons (3 ounces) unsalted butter
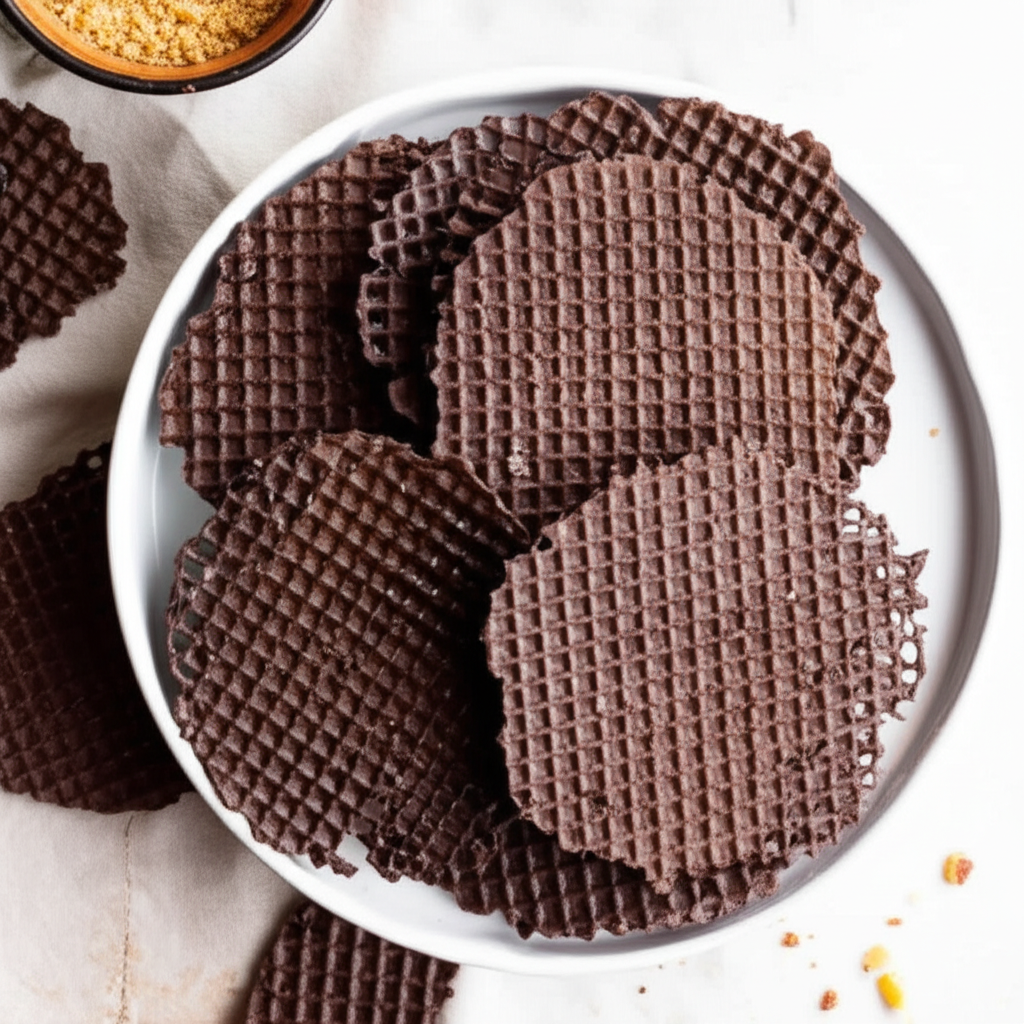
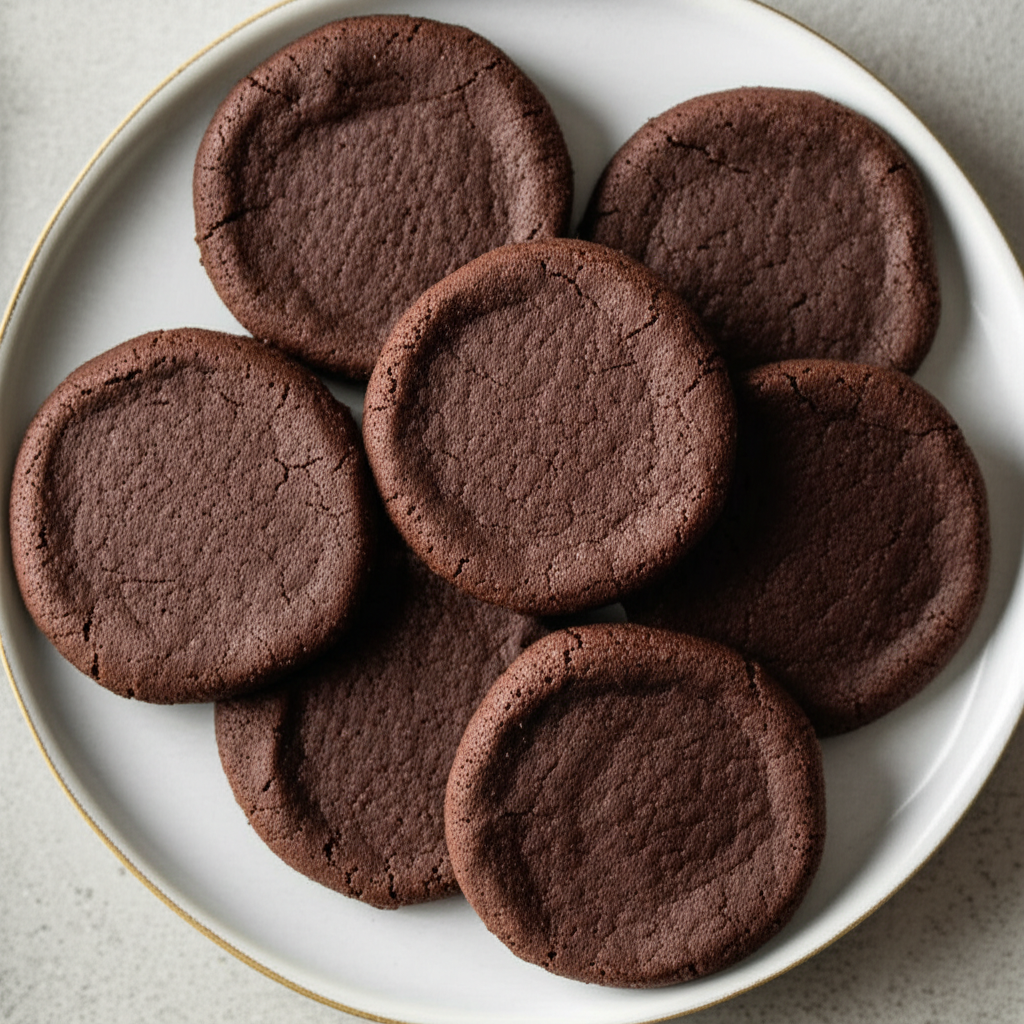
- 1 ½ cups dark chocolate wafers
- 8 ounces white chocolate
- 1 cup heavy cream
- 1 teaspoon unflavored gelatin
- 2 tablespoons cold milk
- 2 large egg yolks
- Eggs
- ¼ cup granulated sugar
- 2 tablespoons crème de menthe
- Peppermint Extract
- 4 ounces semi-sweet chocolate
- pinch of salt
- dark chocolate for garnish (optional)
Cook Smarter with Sous, Your Kitchen Companion
Missing an ingredient for this Retro White Chocolate Grasshopper Pie? Need a perfect wine pairing or a healthy side dish idea? Don't guess—ask Sous! Your AI-powered sous-chef is ready to help you swap ingredients, adjust serving sizes, and discover flavor tips in seconds.
Comment préparer Retro White Chocolate Grasshopper Pie
- **Make the Crust:** Crush 1 ½ cups dark chocolate wafers into fine crumbs using a food processor.
- Melt 6 tablespoons (3 ounces) unsalted butter.
- In a medium bowl, combine the wafer crumbs and melted butter, mixing until evenly moistened.
- Press the mixture firmly into the bottom and up the sides of a 9-inch pie plate.
- Refrigerate for at least 30 minutes to firm up.
- **Bake the Crust:** Preheat oven to 350°F (175°C). Bake the crust for 8-10 minutes, or until lightly golden and set.
- Let the crust cool completely on a wire rack.
- **Make the Filling:** Finely chop 4 ounces of semi-sweet chocolate.
- In a small saucepan, heat ½ cup heavy cream over medium heat until simmering.
- Pour the hot cream over the chopped chocolate and let it sit for a minute.
- Whisk until smooth and glossy. Stir in the remaining ½ cup heavy cream.
- Refrigerate for at least 30 minutes until completely chilled.
- In a small bowl, sprinkle 1 teaspoon of unflavored gelatin over 2 tablespoons of cold milk. Let it bloom for 5 minutes.
- In a heatproof bowl, whisk together 2 large egg yolks, ¼ cup granulated sugar, and a pinch of salt.
- Place the bowl over a saucepan of simmering water (double boiler), whisking constantly until the mixture thickens and doubles in volume (about 2-3 minutes). Do not let it boil.
- Remove from heat and whisk in 2 tablespoons crème de menthe.
- Gently heat the bloomed gelatin until dissolved. Whisk it into the egg mixture.
- Let the egg mixture cool slightly.
- In a separate bowl, beat 8 ounces of white chocolate with an electric mixer until fluffy.
- Gently fold the whipped white chocolate into the cooled egg mixture.
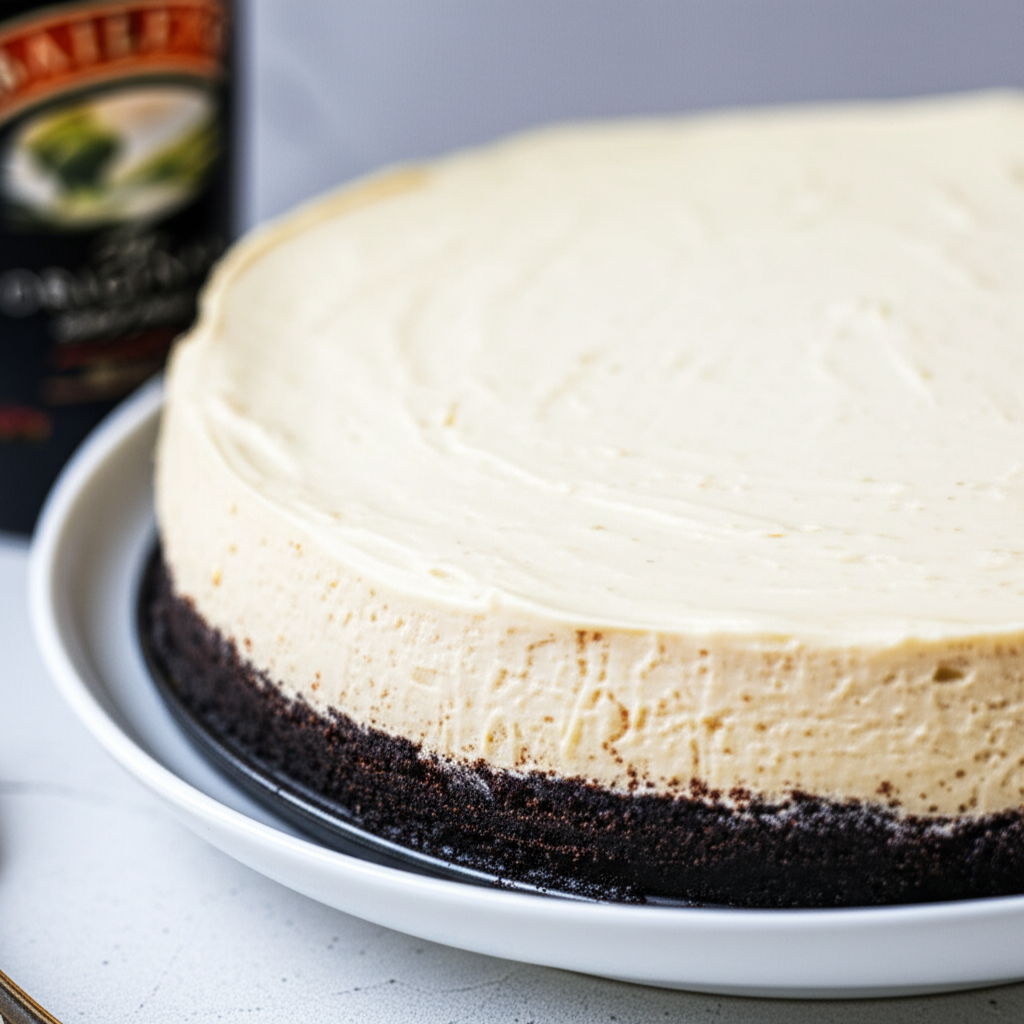
- Pour the filling into the cooled pie crust.
- Refrigerate for at least 4 hours, or preferably overnight, to allow the filling to set completely.
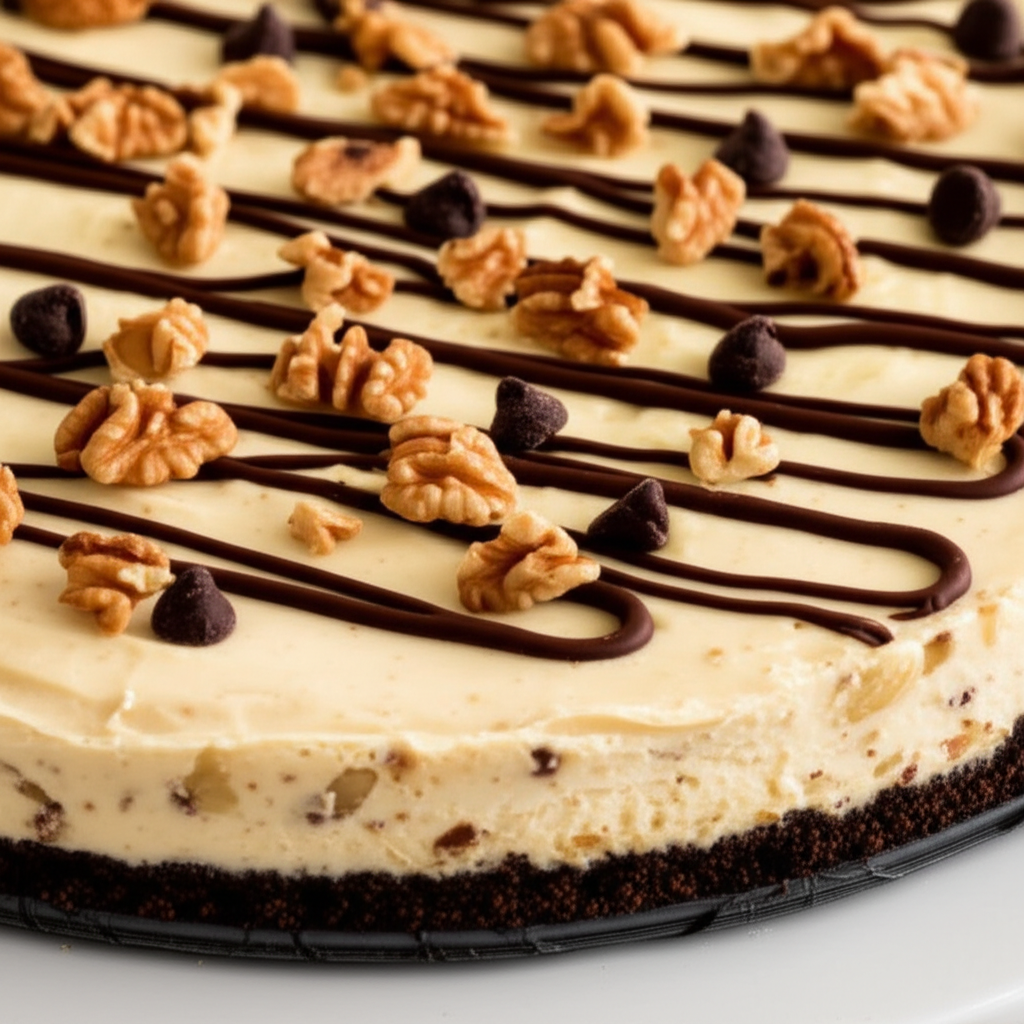
- **Garnish:** Garnish with dark chocolate curls, shavings, or sprinkles before serving.
Nutrition Information (Approximate per serving)
Sodium
7 g
Sugar
88g
Fat
79g
Carbs
11g