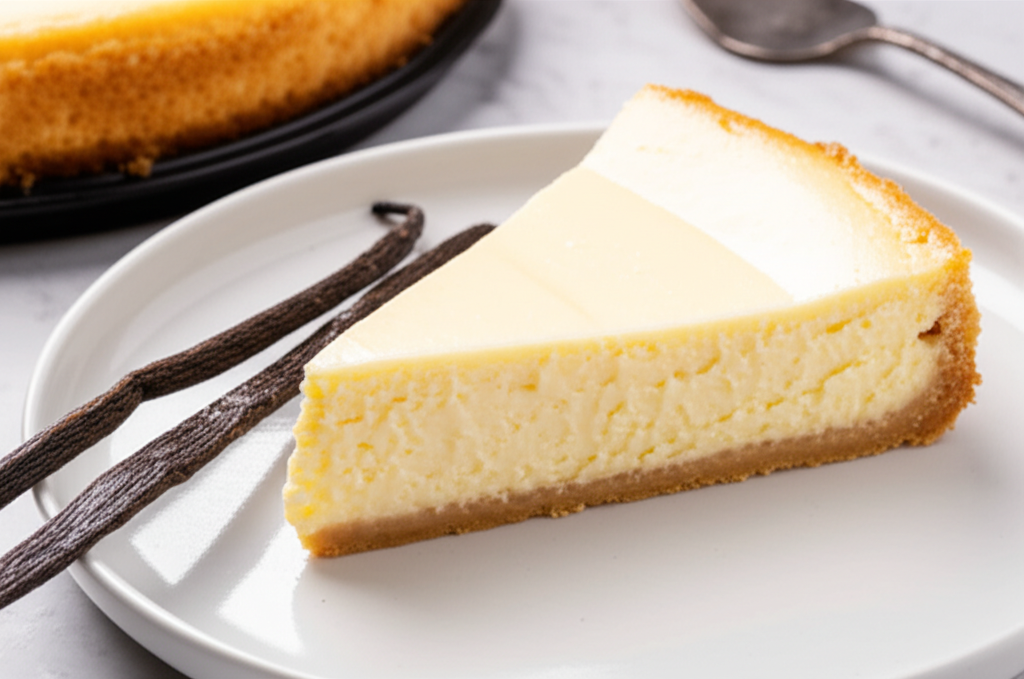

Ingrédients pour Baked Vanilla Cheesecake
- 1 1/2 cups all-purpose flour
- 1/2 teaspoon salt
- 1/2 cup (1 stick) unsalted butter, chilled
- 2 tablespoons granulated sugar (for crust) and 1 1/2 cups granulated sugar (for filling)
- 1 large egg
- 3-4 tablespoons ice water, or as needed
- 3 (8 ounce) packages cream cheese, softened
- 1/4 cup vegetable oil
- 3 large eggs, separated
- 2 tablespoons cornstarch
- 1 teaspoon vanilla extract
- Milk
Cook Smarter with Sous, Your Kitchen Companion
Missing an ingredient for this Baked Vanilla Cheesecake? Need a perfect wine pairing or a healthy side dish idea? Don't guess—ask Sous! Your AI-powered sous-chef is ready to help you swap ingredients, adjust serving sizes, and discover flavor tips in seconds.
Comment préparer Baked Vanilla Cheesecake
- Preheat oven to 350°F (175°C). Grease and flour a 10-inch springform pan.
- In a large bowl, whisk together flour and salt.
- Cut in the chilled butter using a pastry blender or your fingers until the mixture resembles coarse crumbs.
- Stir in 2 tablespoons of sugar.
- Add the egg and gradually mix in ice water until a dough forms.
- Form the dough into a ball, wrap in plastic wrap, and refrigerate for at least 30 minutes.
- On a lightly floured surface, roll out the dough to a 12-inch circle. Carefully transfer to the prepared pan, pressing it into the bottom and up the sides.
- Trim and crimp the edges.
- Prick the bottom of the crust with a fork to prevent bubbling.
- In a large bowl, beat the softened cream cheese until smooth.
- Gradually add the oil, sugar, egg yolks, cornstarch, and vanilla, beating until well combined.
- In a separate bowl, beat the egg whites until stiff peaks form.
- Gently fold the egg whites into the cream cheese mixture until just combined.
- Pour the filling into the prepared crust.
- Place the springform pan in a larger baking pan. Pour enough hot water into the larger pan to come halfway up the sides of the springform pan (this creates a water bath for even baking).
- Bake for 50-60 minutes, or until the cheesecake is set around the edges and the center is just slightly jiggly.
- Turn off the oven and leave the cheesecake in the oven with the door slightly ajar for 1 hour.
- Remove from the oven and let cool completely on a wire rack.
- Once completely cool, refrigerate for at least 4 hours, or preferably overnight, before serving.
Nutrition Information (Approximate per serving)
Sodium
16 g
Sugar
139g
Fat
144g
Carbs
16g


