Ingredients for Asian Plum Sauce For Canning
- 2 lbs ripe plums
- Brown Sugar
- 1 cup granulated sugar
- 1/2 cup white vinegar
- Onion
- Dried Chili Pepper Flakes
- Garlic Cloves
- 1/4 cup finely minced fresh ginger
- Soy Sauce
- Thai Basil
- Basil
- 1/2 teaspoon five-spice powder
- 1/4 teaspoon salt
Cook Smarter with Sous, Your Kitchen Companion
Missing an ingredient for this Asian Plum Sauce For Canning? Need a perfect wine pairing or a healthy side dish idea? Don't guess—ask Sous! Your AI-powered sous-chef is ready to help you swap ingredients, adjust serving sizes, and discover flavor tips in seconds.
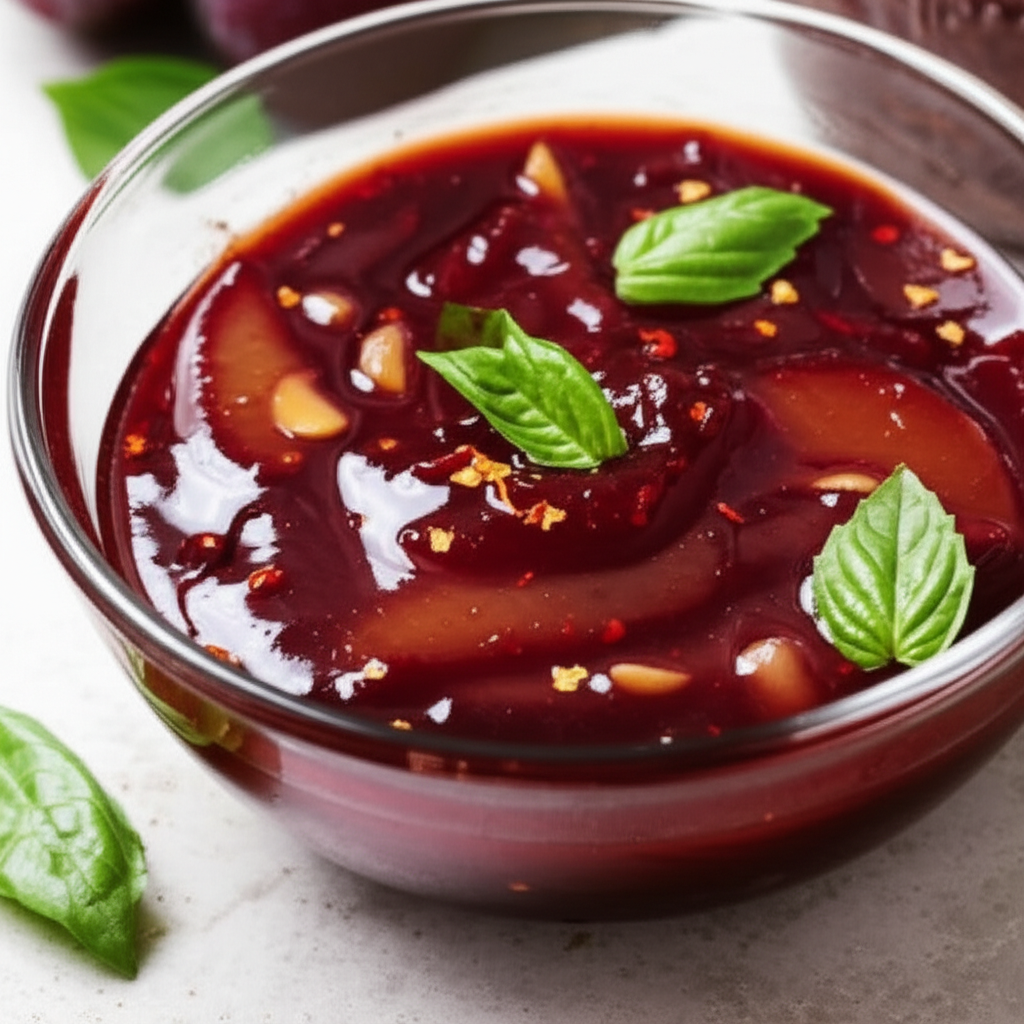
How to Make Asian Plum Sauce For Canning
- Combine 2 lbs ripe plums, 1 cup granulated sugar, 1/2 cup white vinegar, 1/4 cup finely minced ginger, and 2-4 Thai chilies (adjust to your spice preference), in a large, heavy-bottomed saucepan.
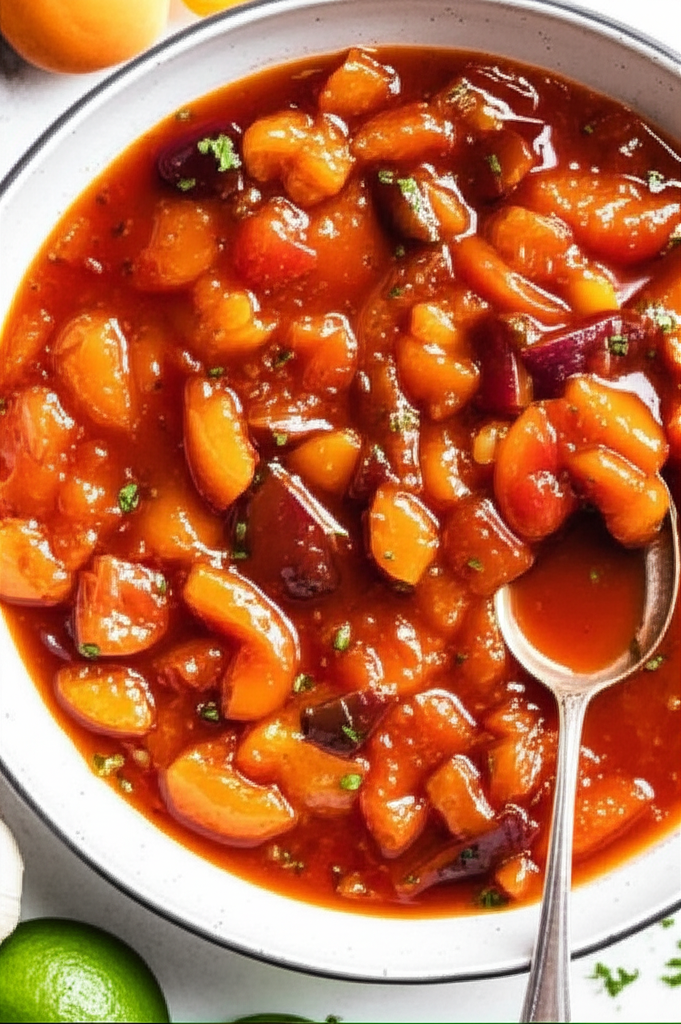
- Bring the mixture to a rolling boil over medium-high heat, stirring frequently to prevent sticking.
- Reduce heat to medium-low and simmer, stirring occasionally, for 1-1.5 hours, or until the sauce has thickened considerably and reaches 215°F (102°C) on a candy thermometer. This ensures proper preservation.
- While the sauce simmers, sterilize your canning jars and lids in boiling water for at least 10 minutes.
- Carefully ladle the hot plum sauce into the sterilized jars, leaving 1/4 inch headspace at the top.
- Wipe the rims of the jars clean with a damp cloth. Place lids and rings on the jars, tightening fingertip tight.
- Process the jars in a boiling water bath for 15 minutes, ensuring the jars are completely submerged.
- Carefully remove the jars from the water bath and let them cool completely on a towel-lined surface, undisturbed, for 24 hours. You should hear a satisfying ‘pop’ as the jars seal.
- Once cooled, check the seals by pressing down on the center of each lid. If the lid doesn't flex, it's sealed. Remove rings and wipe jars clean.
- Label your jars with the date and store in a cool, dark, and dry place for up to 1 year.
Nutrition Information (Approximate per serving)
Sodium
17 g
Sugar
497g
Fat
0g
Carbs
43g
Recipe Tags (Choose a tag and find related recipes!)
Time To Make Course Main Ingredient Cuisine Preparation Occasion Low Protein Healthy Sauces Canning Condiments Etc Fruit Vegetables Asian Low Fat Summer Vegan Vegetarian Stove Top Dietary Gifts Low Sodium Gluten Free Low Cholesterol Seasonal Low Saturated Fat Oamc Freezer Make Ahead Savory Sauces Free Of Something Low In Something Pitted Fruit Plums Taste Mood Savory Equipment Number Of Servings Technique 4 Hours Or Less
