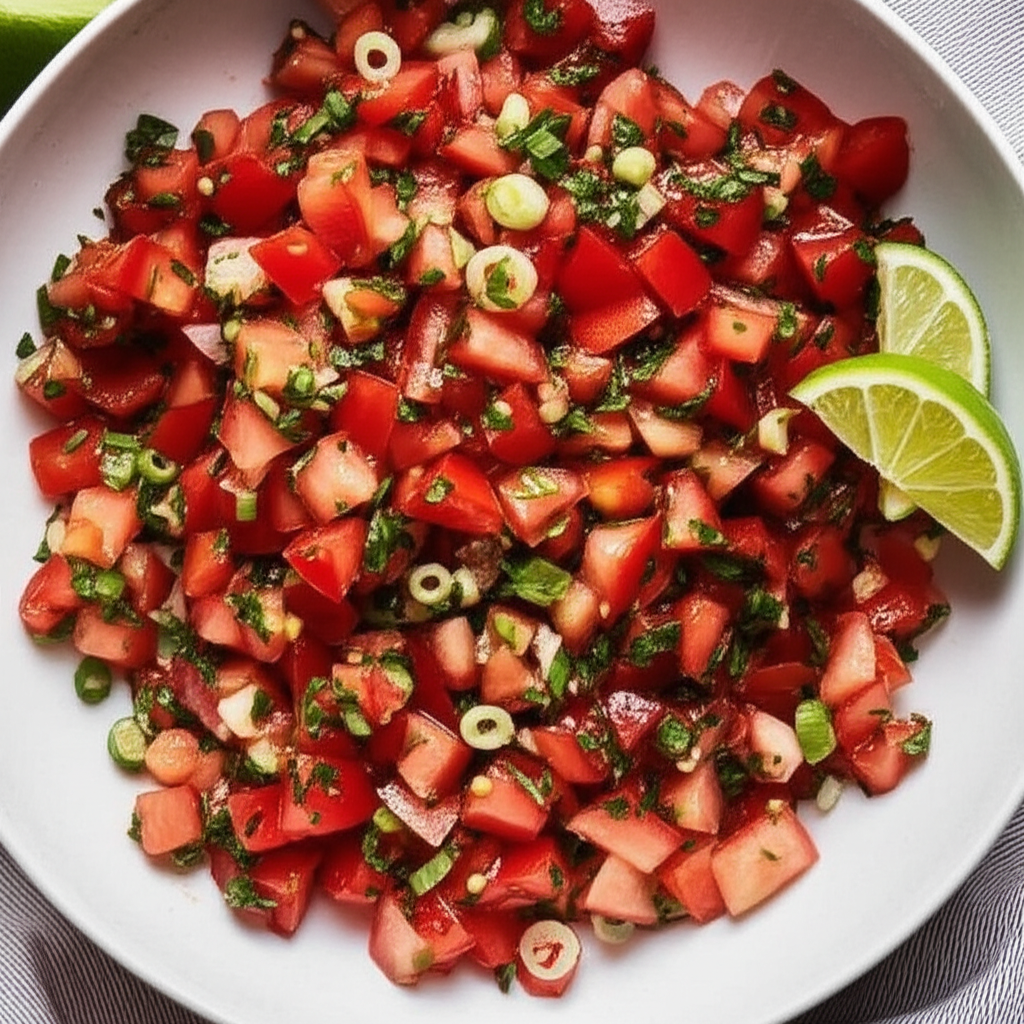
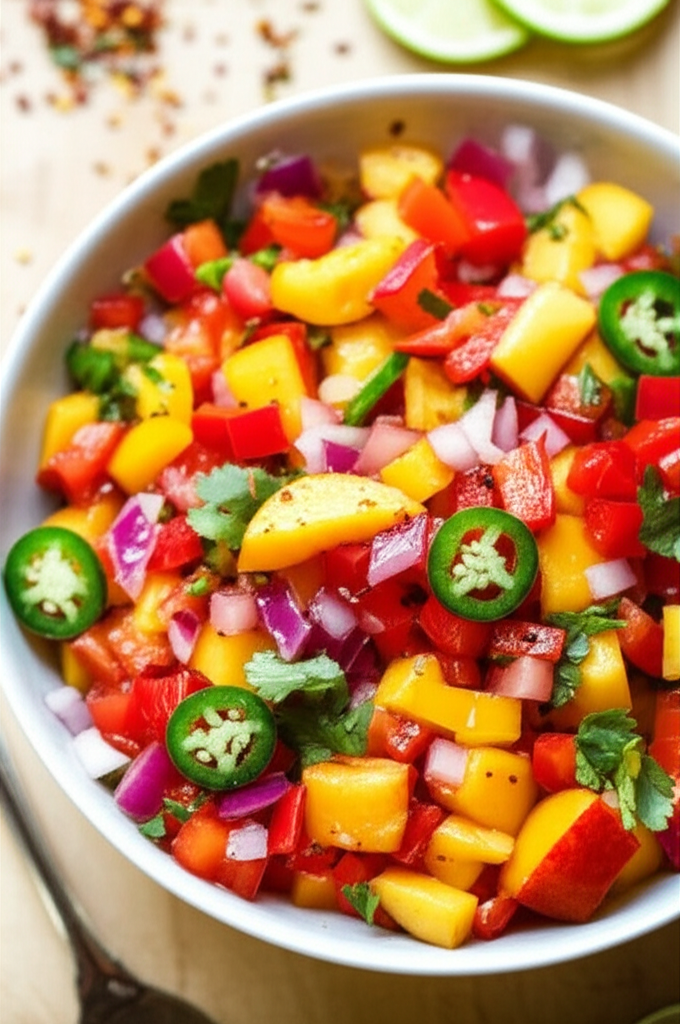
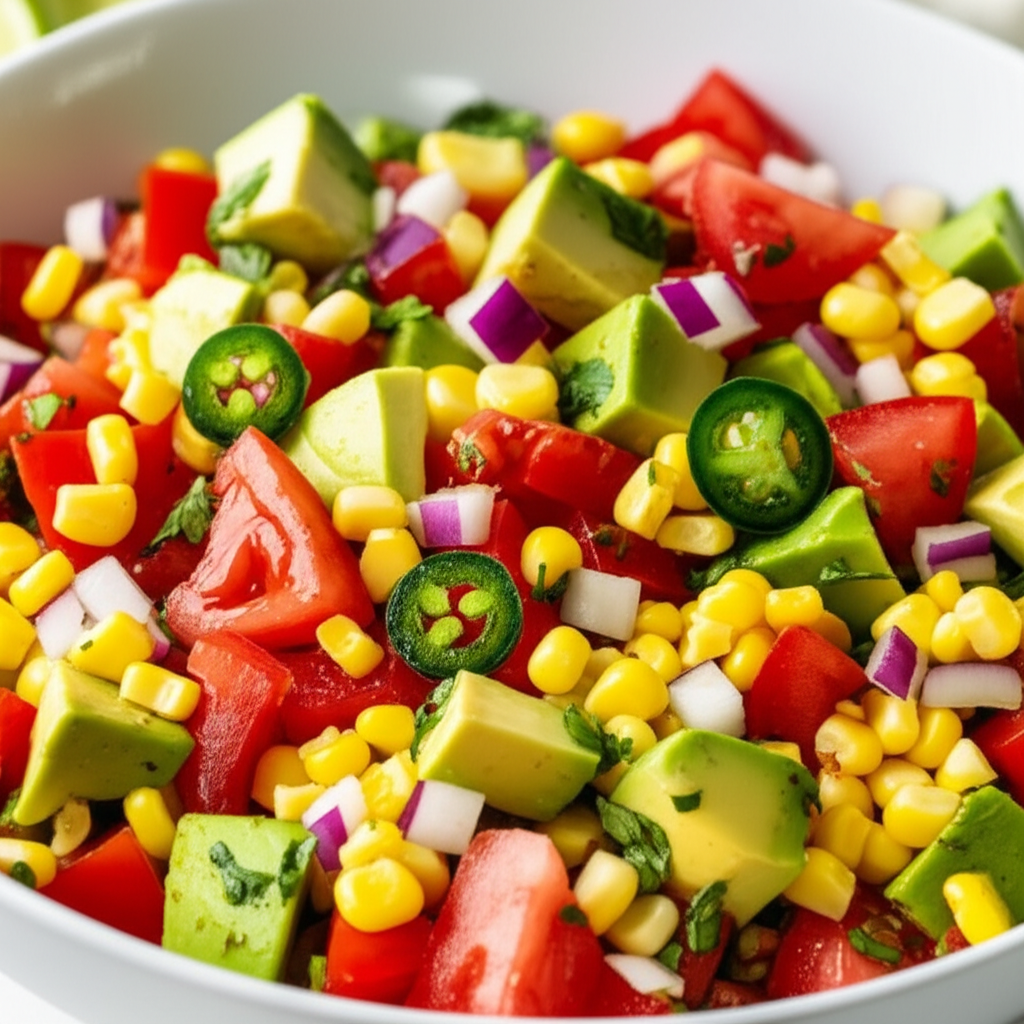
Ingredients for Green Un Ripe Tomato Salsa For Canning
- 4 pounds green tomatoes
- 1 large white onion
- 2 jalapeno peppers
- red bell peppers
- garlic cloves
- 1 cup chopped fresh cilantro
- lime juice
- 1 1/2 cups white vinegar
- 2 tablespoons canning salt
- 1 tablespoon ground cumin
- dried oregano leaves
- pepper
- cayenne
- 1 cup sugar
Cook Smarter with Sous, Your Kitchen Companion
Missing an ingredient for this Green Un Ripe Tomato Salsa For Canning? Need a perfect wine pairing or a healthy side dish idea? Don't guess—ask Sous! Your AI-powered sous-chef is ready to help you swap ingredients, adjust serving sizes, and discover flavor tips in seconds.
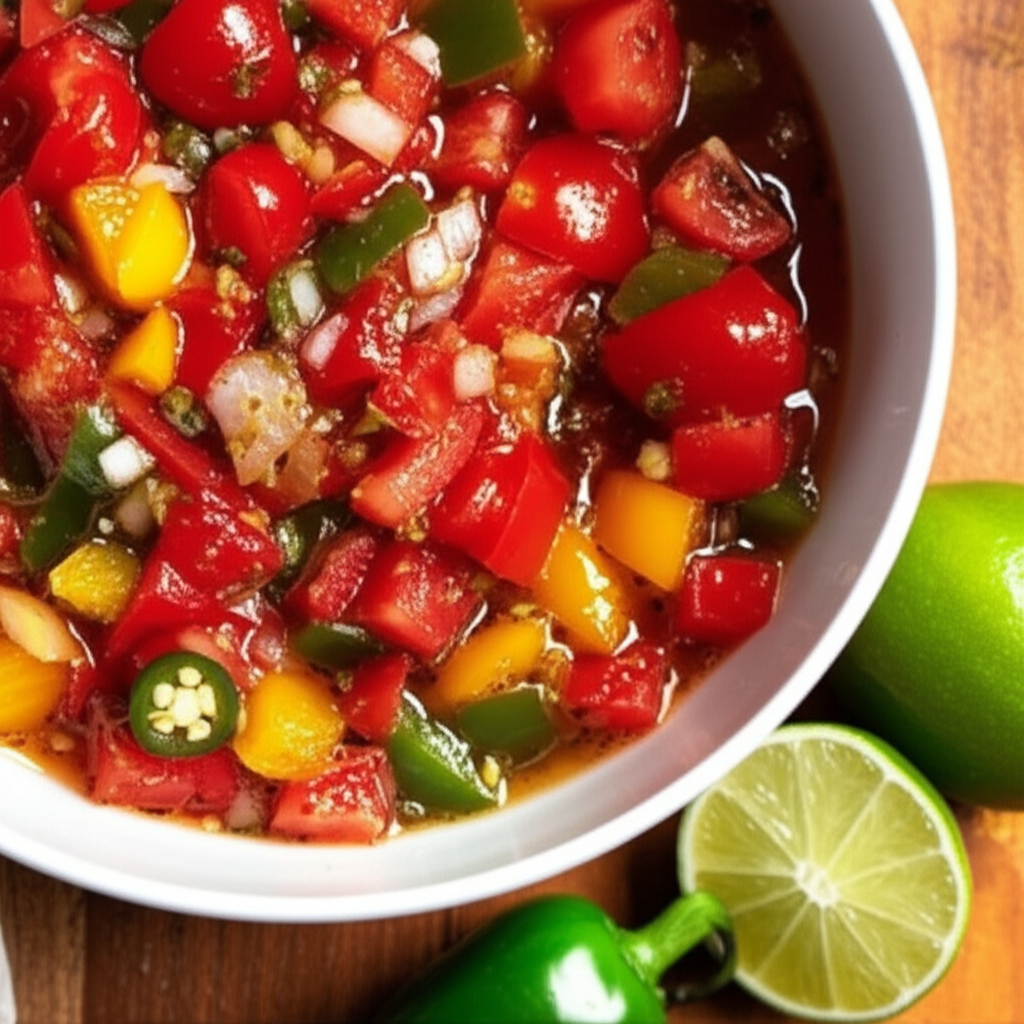
How to Make Green Un Ripe Tomato Salsa For Canning
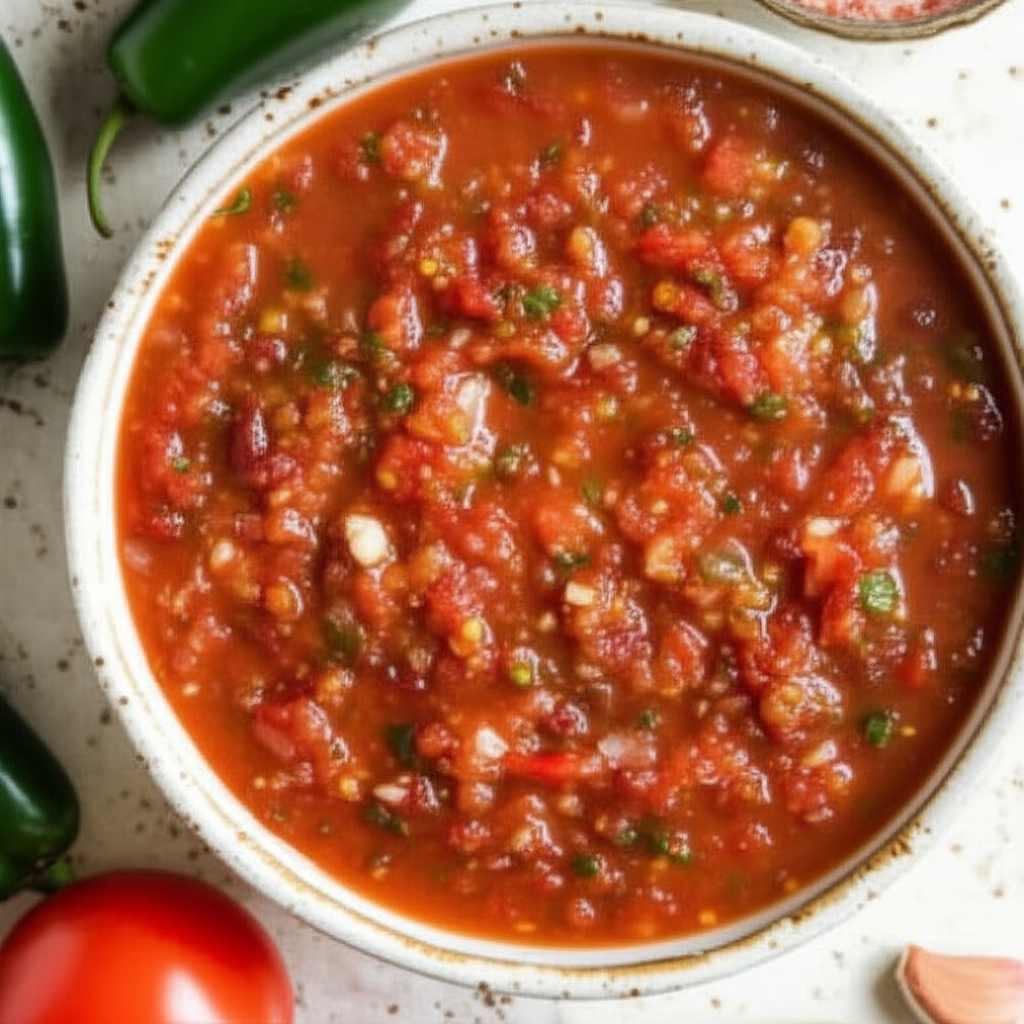
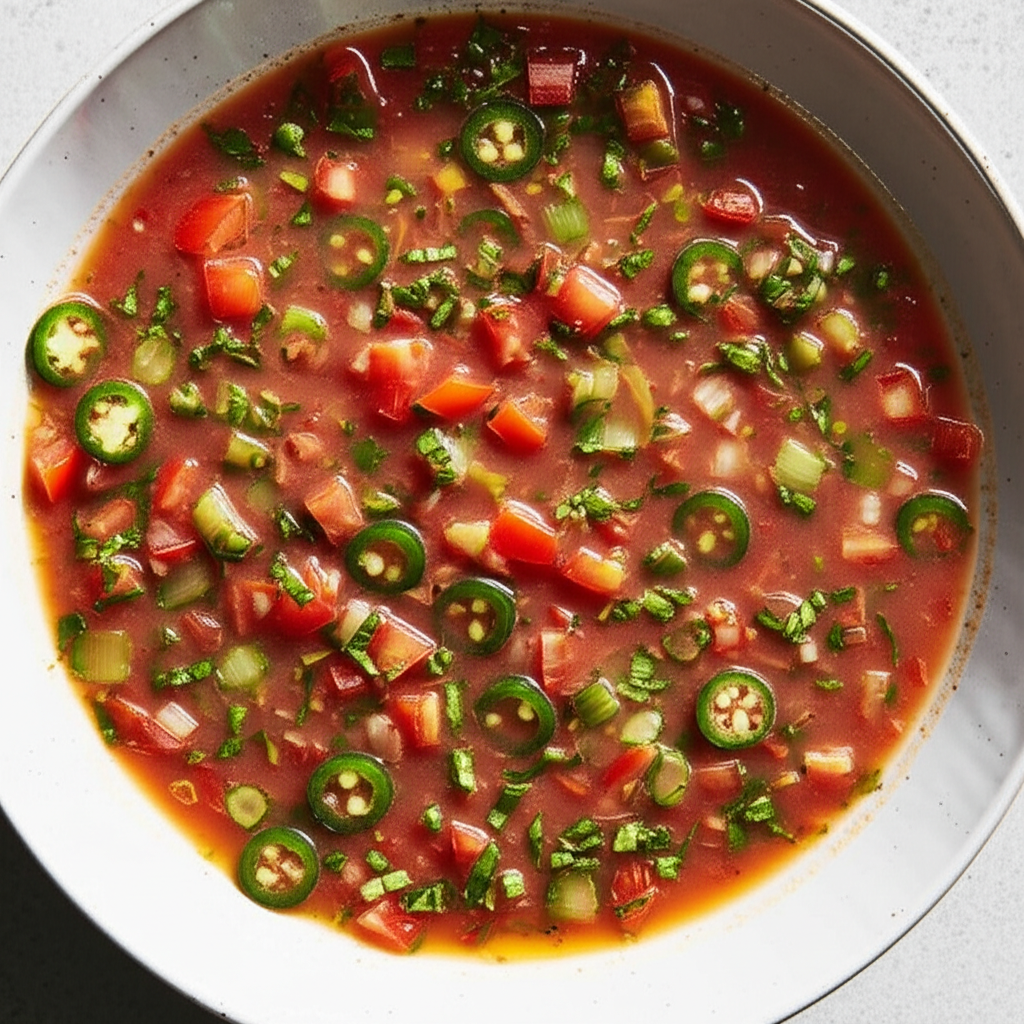
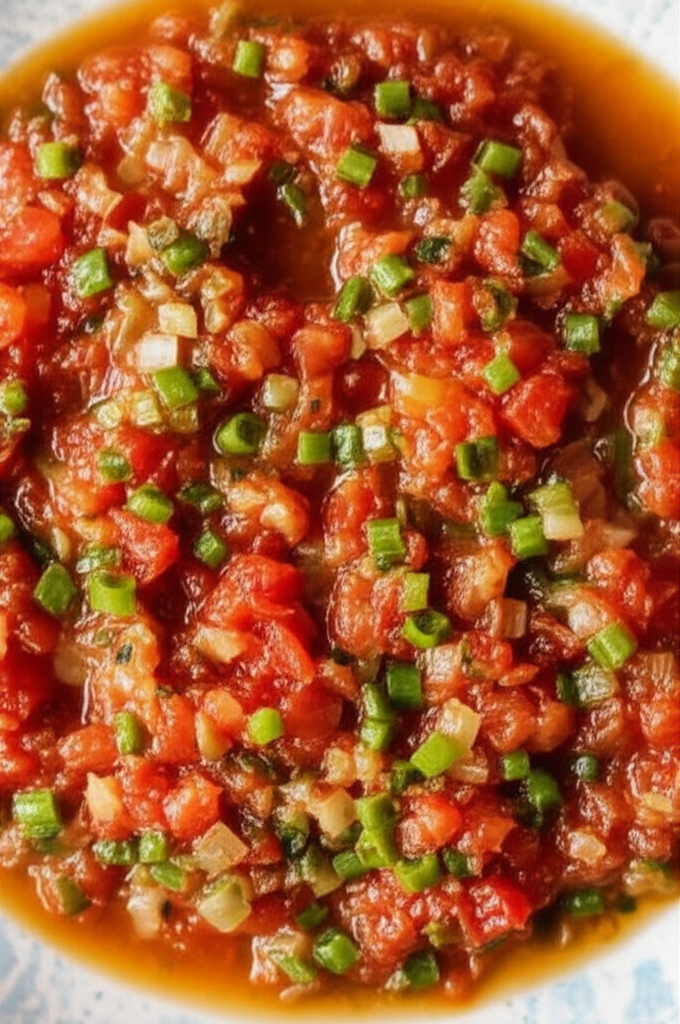
- Roughly chop 4 pounds of green tomatoes, 1 large white onion, 2 jalapeños (remove seeds for less heat), and 1 cup of chopped cilantro.
- In a large pot, combine the chopped green tomatoes, onion, jalapeños, cilantro, 1 1/2 cups of white vinegar, 1 cup of sugar, 2 tablespoons of salt, and 1 tablespoon of cumin.
- Stir well to ensure all ingredients are evenly distributed.
- Bring the mixture to a rolling boil over medium-high heat.
- Reduce heat to low, and simmer gently for 30-40 minutes, stirring occasionally to prevent sticking. The salsa will thicken as it simmers.
- While the salsa simmers, prepare your canning jars and lids by sterilizing them in boiling water for at least 10 minutes.
- Once the simmering time is complete, bring the salsa back to a rolling boil for 5 minutes.
- Carefully ladle the hot salsa into the sterilized jars, leaving 1/2 inch of headspace at the top of each jar.
- Wipe the rims of the jars clean with a damp cloth. Place lids and bands on the jars, tightening them fingertip tight.
- Place the filled jars in a large canning pot, ensuring they are covered with at least 1 inch of water.
- Bring the water in the canning pot to a rolling boil, then process the jars for 15 minutes (adjust processing time based on your altitude – consult a reliable canning guide for specific instructions).
- Carefully remove the jars from the canning pot using a jar lifter and let them cool completely on a towel-lined surface. You should hear a ‘pop’ sound as the jars seal.
- After 24 hours, check the lids to ensure a proper seal. Refrigerate any unsealed jars and consume within a week.
Nutrition Information (Approximate per serving)
Sodium
38 g
Sugar
78g
Fat
0g
Carbs
10g
Recipe Tags (Choose a tag and find related recipes!)
Time To Make Course Main Ingredient Preparation Occasion Low Protein Healthy Appetizers Canning Condiments Etc Vegetables Low Fat Vegetarian Dips Dietary Spicy Low Cholesterol Low Saturated Fat Low Calorie Low Carb Healthy 2 Low In Something Peppers Tomatoes Taste Mood Equipment Technique Water Bath 4 Hours Or Less