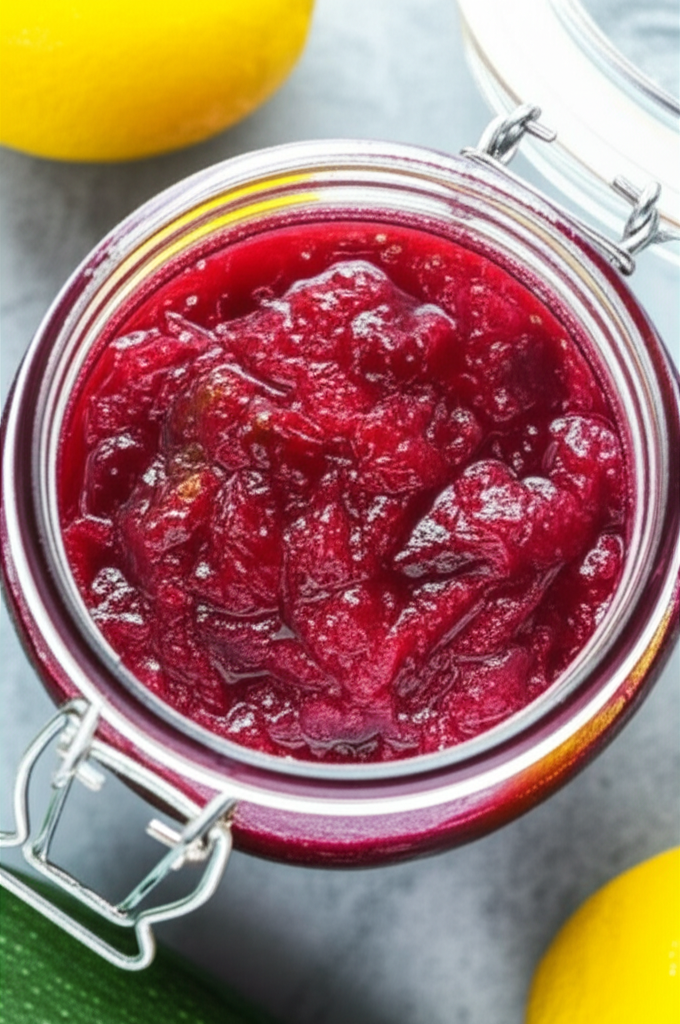
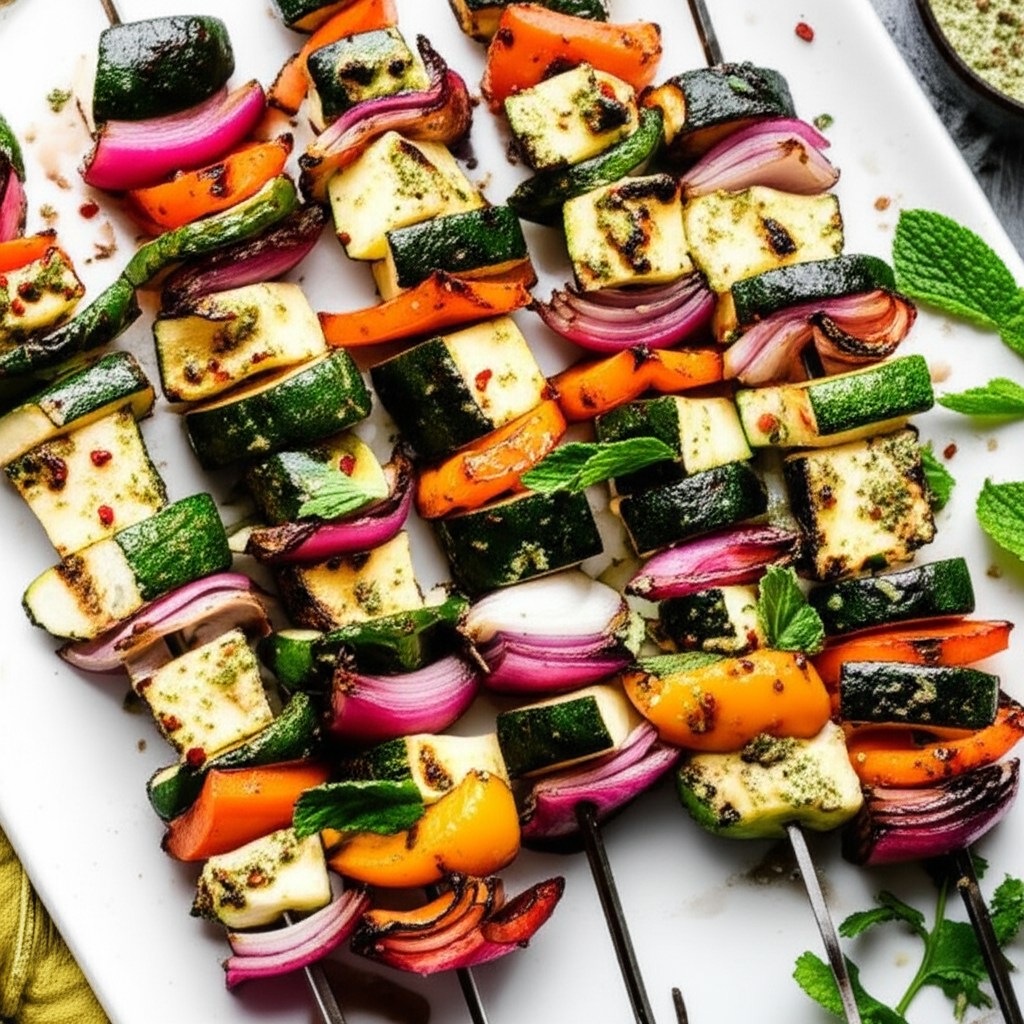
Ingredients for Zucchini Squash Pickles With Ginger And Lemongrass
- 1 medium zucchini, thinly sliced
- Onion
- 2 stalks lemongrass, bruised and thinly sliced
- Fresh Ginger
- 2 tablespoons sea salt
- White Vinegar
- Brown Sugar
- Fruit Fresh
- Coriander Seed
- Celery Seed
- Turmeric
- Mustard Seeds
- Garlic Cloves
- Chilies
Cook Smarter with Sous, Your Kitchen Companion
Missing an ingredient for this Zucchini Squash Pickles With Ginger And Lemongrass? Need a perfect wine pairing or a healthy side dish idea? Don't guess—ask Sous! Your AI-powered sous-chef is ready to help you swap ingredients, adjust serving sizes, and discover flavor tips in seconds.
How to Make Zucchini Squash Pickles With Ginger And Lemongrass
- Wash and peel your chosen squash (zucchini or hairy melon).
- Cut the squash into thin, consistent slices (approximately 1/8 inch thick).
- In a large bowl, combine the squash slices with salt. Gently massage the salt into the squash and let it sit for 30 minutes to draw out excess moisture. Rinse well and pat dry.
- While the squash is releasing moisture, prepare the brine. In a saucepan, combine the water, rice vinegar, sugar, ginger, lemongrass, garlic, and chili flakes. Bring to a simmer over medium heat, stirring until the sugar dissolves completely.
- Pack the squash slices tightly into sterilized jars.
- Pour the hot brine over the squash, leaving about 1/2 inch of headspace.
- Remove any air bubbles by gently tapping the jars.
- Wipe the jar rims clean and seal tightly with lids.
- Process in a boiling water bath for 10 minutes (adjust based on altitude - see additional notes on canning safety).
- Remove jars from the canner and let them cool completely. You should hear a satisfying 'pop' as the jars seal.
- Once completely cool, check the seals to ensure they are airtight. Store in a cool, dark place for at least 2 weeks to allow the flavors to fully develop. Enjoy!
Nutrition Information (Approximate per serving)
Sodium
29 g
Sugar
28g
Fat
0g
Carbs
3g