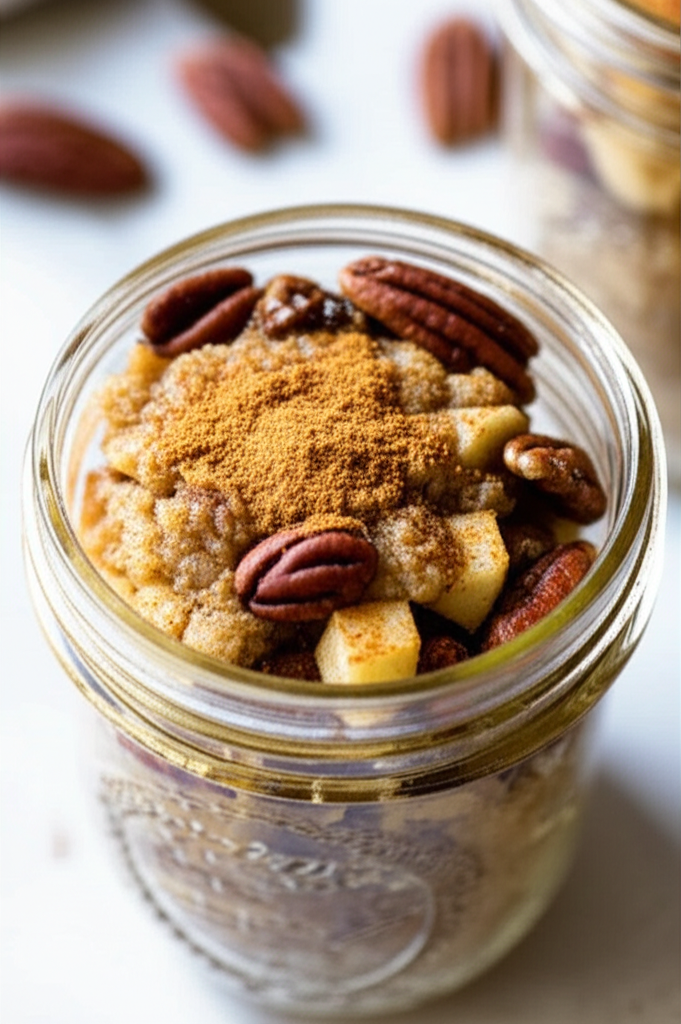
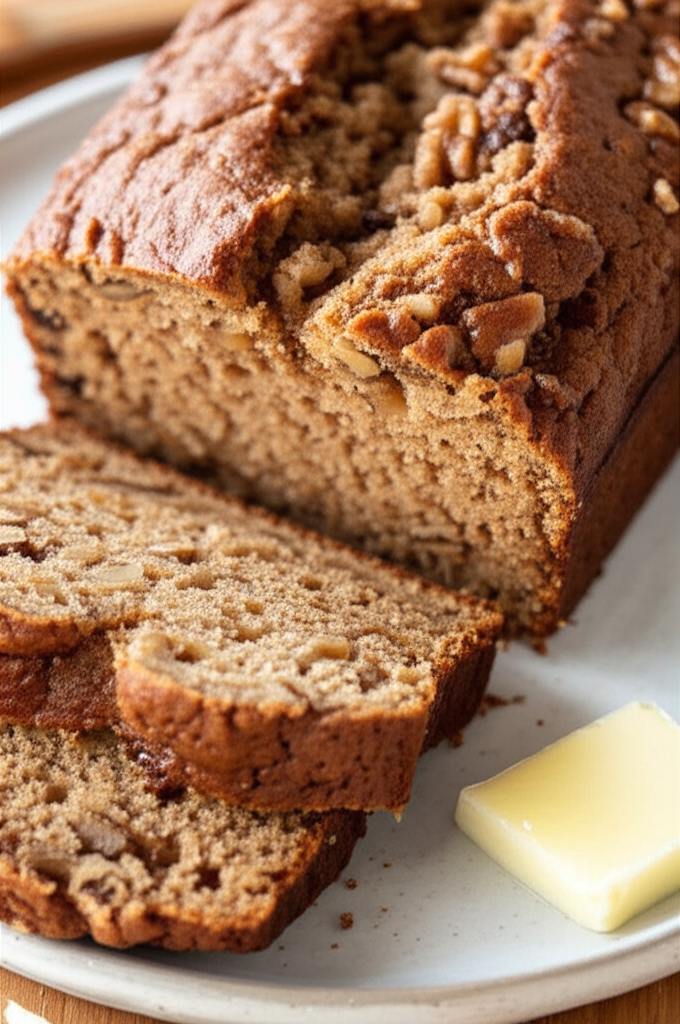
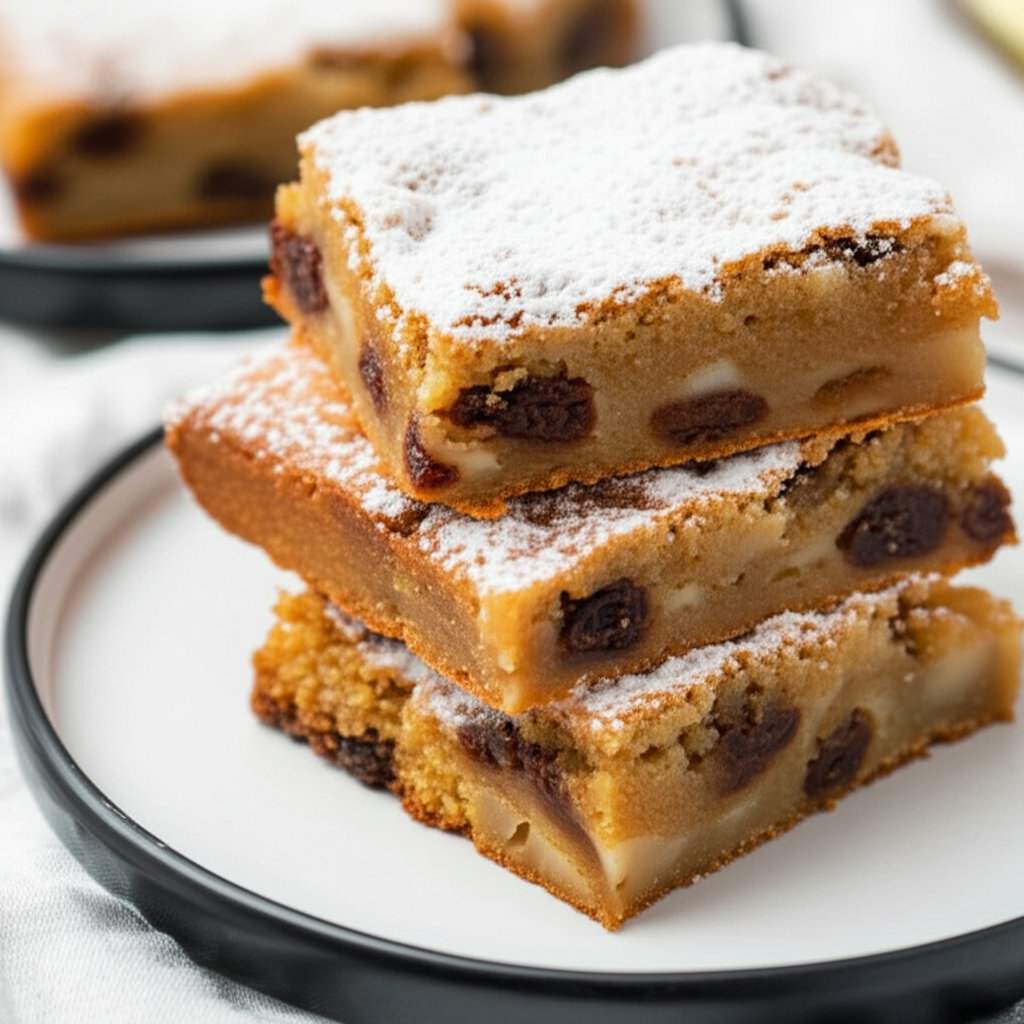
Ingredients for Apple Raisin Cake In A Jar
- 1 cup (2 sticks) softened shortening
- 1 teaspoon baking powder
- 1 ¾ cups granulated sugar
- 1 teaspoon baking soda
- 2 large eggs
- ½ teaspoon salt
- ½ cup unsweetened applesauce
- 1 teaspoon ground cinnamon
- 2 ½ cups all-purpose flour
- Clove
- 1 cup raisins
- ½ cup chopped pecans
- ½ teaspoon ground nutmeg
Cook Smarter with Sous, Your Kitchen Companion
Missing an ingredient for this Apple Raisin Cake In A Jar? Need a perfect wine pairing or a healthy side dish idea? Don't guess—ask Sous! Your AI-powered sous-chef is ready to help you swap ingredients, adjust serving sizes, and discover flavor tips in seconds.
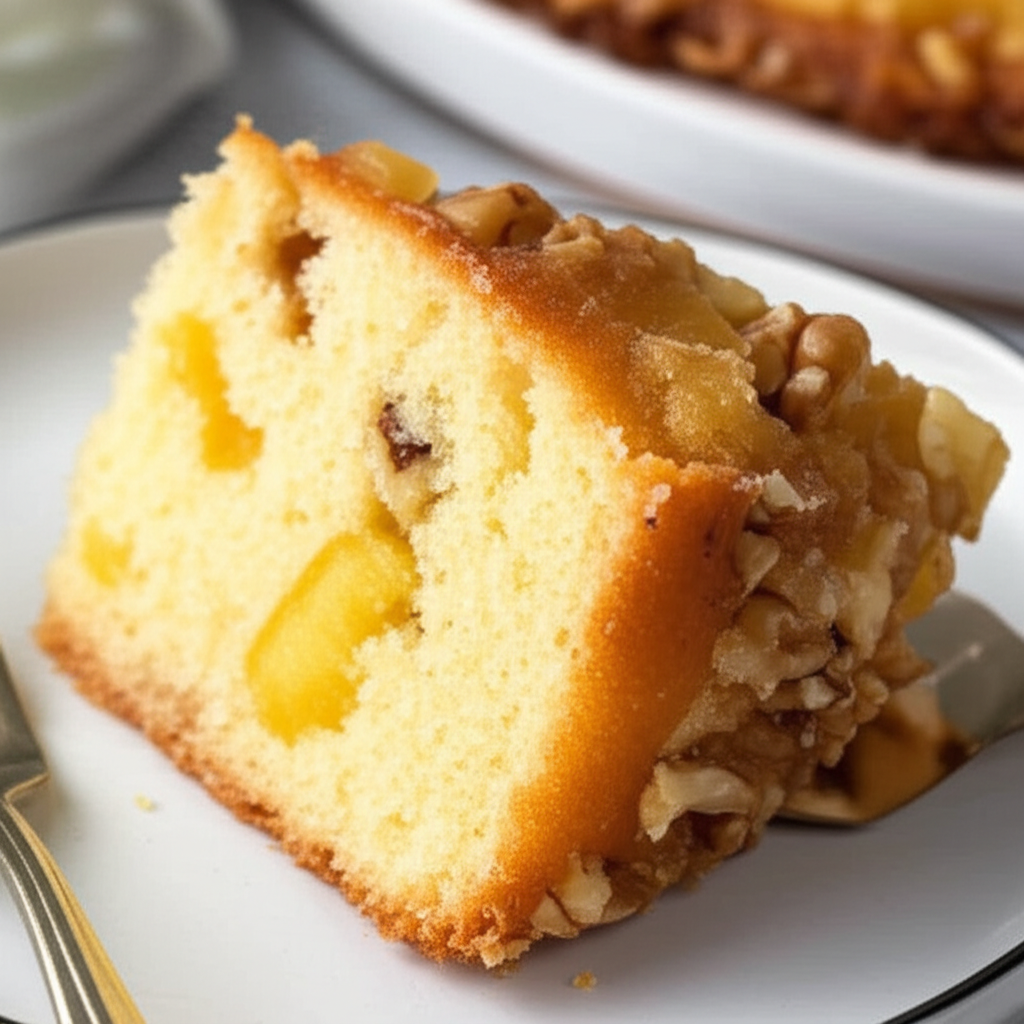
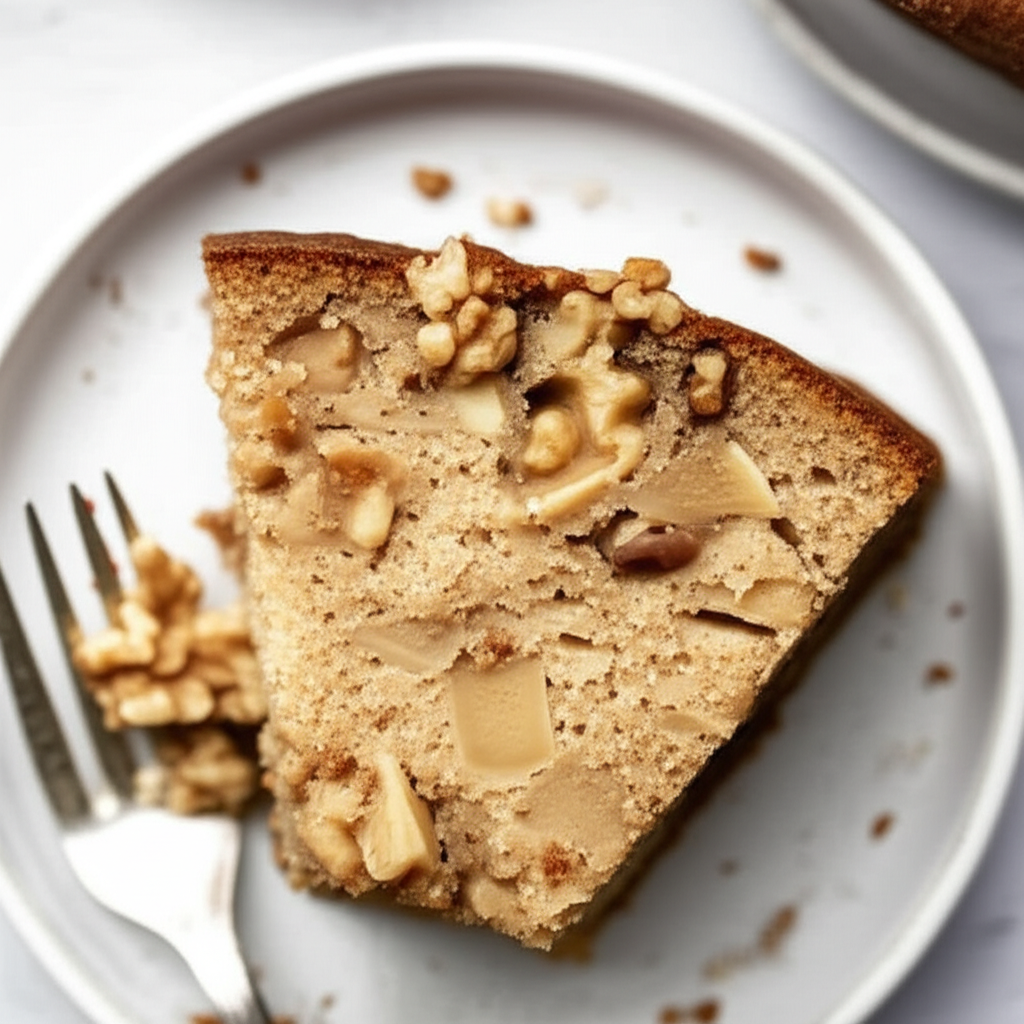
How to Make Apple Raisin Cake In A Jar
- Preheat oven to 325°F (160°C). Grease eight wide-mouth pint canning jars with melted shortening, using a brush to avoid the rims.
- In a large bowl, cream together 1 cup (2 sticks) softened shortening and 1 ¾ cups granulated sugar until light and fluffy.
- Beat in 2 large eggs and ½ cup unsweetened applesauce.
- In a separate bowl, whisk together 2 ½ cups all-purpose flour, 1 teaspoon baking soda, 1 teaspoon ground cinnamon, ½ teaspoon ground nutmeg, ½ teaspoon salt, and 1 teaspoon baking powder.
- Gradually add the dry ingredients to the wet ingredients, mixing until just combined. Be careful not to overmix.
- Stir in 1 cup raisins and ½ cup chopped walnuts (or pecans).
- Evenly divide the batter among the prepared jars, filling them slightly more than halfway.
- Bake the uncovered jars for 60-75 minutes, or until a wooden skewer inserted into the center comes out clean. Baking time may vary depending on your oven.
- Carefully remove one hot jar at a time from the oven. Clean the sealing edge of the jar.
- Immediately apply a clean two-piece wide-mouth canning lid and tighten firmly.
- Let the jars cool completely. A vacuum seal will form as they cool. You should hear a 'pop' sound as this happens.
- Once completely cooled, store the jars in a cool, dark pantry for up to 2 weeks or freeze for longer storage. The bread is safe to eat as long as the jars remain vacuum-sealed and free of mold growth.
Nutrition Information (Approximate per serving)
Sodium
34 g
Sugar
378g
Fat
28g
Carbs
50g

